Pickled Banana Peppers: Brine, Safety, and Crunch
Pickled banana peppers need different methods for refrigerator and pantry storage. Use the NCHFP tested yellow-ring formula for shelf-stable pints; keep flexible seasoned brines refrigerated and use them within 2 weeks.
Pickled banana peppers need two different methods depending on where the finished jar will be stored. A refrigerator batch may use a flexible seasoned brine, but a shelf-stable batch should follow a research-tested canning recipe without changing the proportions of peppers, vinegar, water, or salt.
For pantry jars, the National Center for Home Food Preservation (NCHFP) publishes a tested Yellow Pepper Rings recipe made specifically for mild banana pepper pods. It uses 2½ to 3 pounds of peppers, 5 cups of 5% cider vinegar, 1¼ cups water, and 5 teaspoons canning salt for about four pint jars.
For refrigerator pickles, University of Maine Cooperative Extension uses equal parts 5% vinegar and water. Those jars stay refrigerated, develop flavor for 1 to 2 days, and should be used within 2 weeks.
The distinction matters because peppers are low-acid vegetables. Vinegar, water, food quantity, cut size, jar size, and processing time work together in a tested shelf-stable recipe. A jar can seal even when the food inside was not prepared with a safe formula.
This method keeps the familiar rings useful for sandwiches, pizza, salads, and antipasto while separating flavor choices from canning safety. Other peppers selected for pickling may need a different tested formula or a refrigerator-only approach.
Decide between fridge and pantry
Storage is the first decision because it controls how much the brine and seasonings may change. A refrigerator jar is never shelf-stable, even if hot brine creates a temporary seal as the jar cools.
A canned pint follows the NCHFP formula, uses the stated ½-inch headspace, and receives the full boiling-water process for its altitude. The sealed jars then cool undisturbed for 12 to 24 hours before the seals are checked.
| Decision | Refrigerator rings | Shelf-stable rings |
|---|---|---|
| Authority | University of Maine refrigerator-pickle method | NCHFP Pickled Yellow Pepper Rings recipe |
| Brine | 3 cups 5% vinegar, 3 cups water, 3 tablespoons pickling salt, and 2 tablespoons sugar for the sour version | 5 cups 5% cider vinegar, 1¼ cups water, and 5 teaspoons canning salt |
| Heat treatment | Boil the brine for 2 minutes, fill clean containers, then refrigerate | Process filled pint jars in a boiling-water canner for the altitude-specific time |
| When to eat | After 1 to 2 days of refrigerated flavor development | After the seal has been checked and the jar has cooled; longer rest softens the sharp vinegar edge |
| Storage | Refrigerate continuously and use within 2 weeks | Store sealed jars in a cool, dark, dry place and use within 1 year for best quality |
| Flavor freedom | Up to 2 tablespoons of listed herbs or spices per jar in the Maine formula | Keep the tested produce and liquid proportions; dried spices may be adjusted |
The refrigerator method is the simpler choice for a small harvest or a custom garlic-and-herb flavor. Readers comparing broader pepper pickling methods should treat refrigeration and canning as separate processes, not interchangeable finishing steps.
University of Minnesota Extension recommends sterilizing containers for refrigerator pickles because the filled jars receive no canner heat treatment. Use heatproof containers with tight lids, fill them with the hot brine, refrigerate them promptly, and keep the rings cold for the full two-week storage window.
Use the tested yellow-ring formula
The NCHFP recipe is sized for about four pint jars. Use pints rather than larger jars because the published processing time was developed for that jar size.
Measure the peppers by weight before trimming. The allowed range of 2½ to 3 pounds accounts for normal differences in stem and seed waste without increasing the low-acid food beyond the tested batch.
| Ingredient | Tested amount | Where it goes |
|---|---|---|
| Yellow banana peppers | 2½ to 3 pounds | Washed, stemmed, and sliced into ¼-inch rings |
| Cider vinegar | 5 cups at 5% acidity | Boiled with the water and salt |
| Water | 1¼ cups | Boiled with the vinegar and salt |
| Canning salt | 5 teaspoons | Dissolved in the pickling liquid |
| Celery seed | 2 tablespoons | ½ tablespoon in each pint jar |
| Mustard seed | 4 tablespoons | 1 tablespoon in each pint jar |
Cider vinegar gives the rings a warmer color and rounder vinegar flavor. Penn State Extension states that white and cider vinegar may be interchanged in a tested canning recipe when the replacement vinegar also has 5% acidity.
Sugar does not appear in the NCHFP yellow-ring formula. Adding sweetness to a refrigerated batch is straightforward, but a pantry batch is safest when the tested ingredient list and method remain intact.
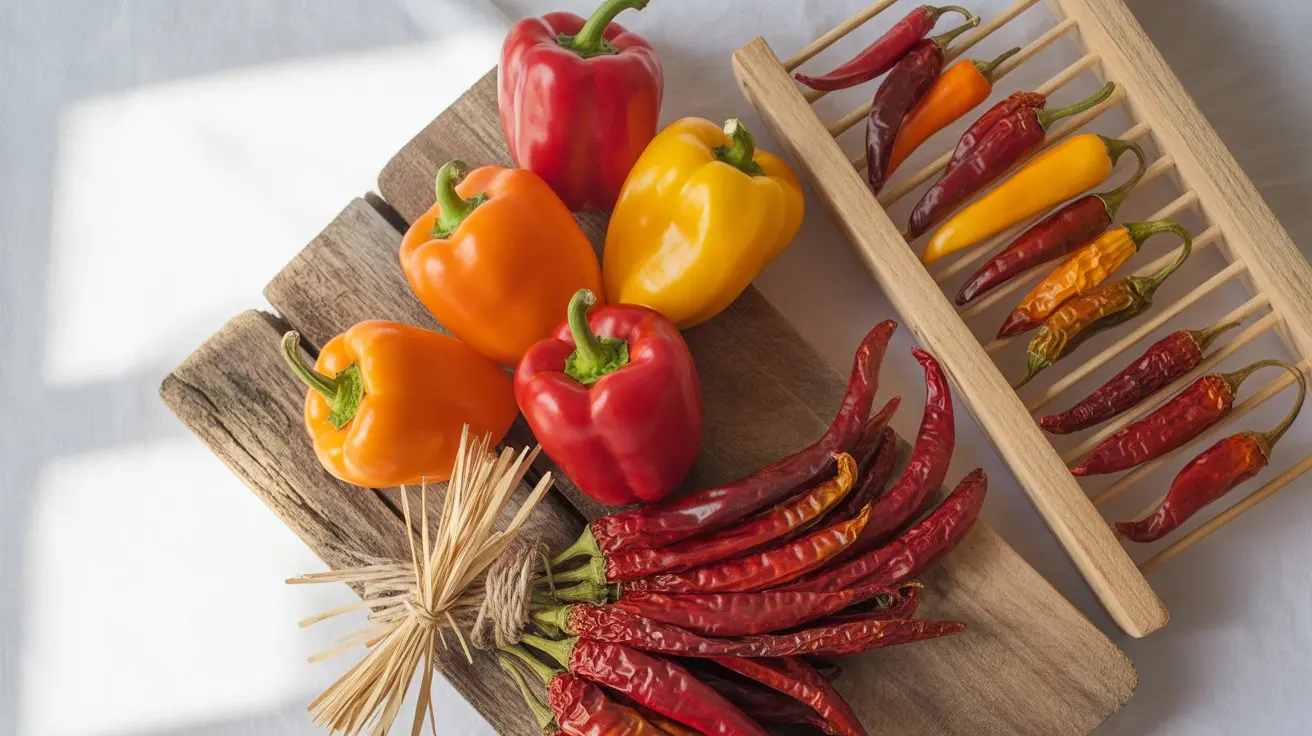
Start with firm, even rings
Fresh texture begins before the brine is heated. Select firm pods without soft spots, deep cracks, insect damage, or wrinkled skin; damaged tissue loses texture faster and can carry more contamination into the jar.
Color may range from pale yellow-green to deeper yellow or orange. Ripeness changes sweetness and aroma, but firmness matters more than color for a crisp ring.
- Wash peppers under cool running water and remove the stem end.
- Cut rings to a uniform ¼-inch thickness so acid and heat reach pieces evenly.
- Discard soft, moldy, badly bruised, or insect-damaged pods rather than trimming them into the batch.
- Keep the total prepared pepper weight within the tested 2½-to-3-pound range.
- Wear gloves if a market basket may include hot wax peppers, then wash tools and hands before touching the face.
Some yellow pods sold beside banana peppers are hotter Hungarian types. The visual cues in banana and Hungarian wax differences help with sorting, but gloves remain the safer choice when the label is uncertain because capsaicin residue can transfer from the knife and cutting board.
Seeds may be left in the rings because the tested recipe does not require their removal. Removing loose seeds is a texture preference, not permission to change the weight of peppers or the amount of brine.
Pack pint jars without shortcuts
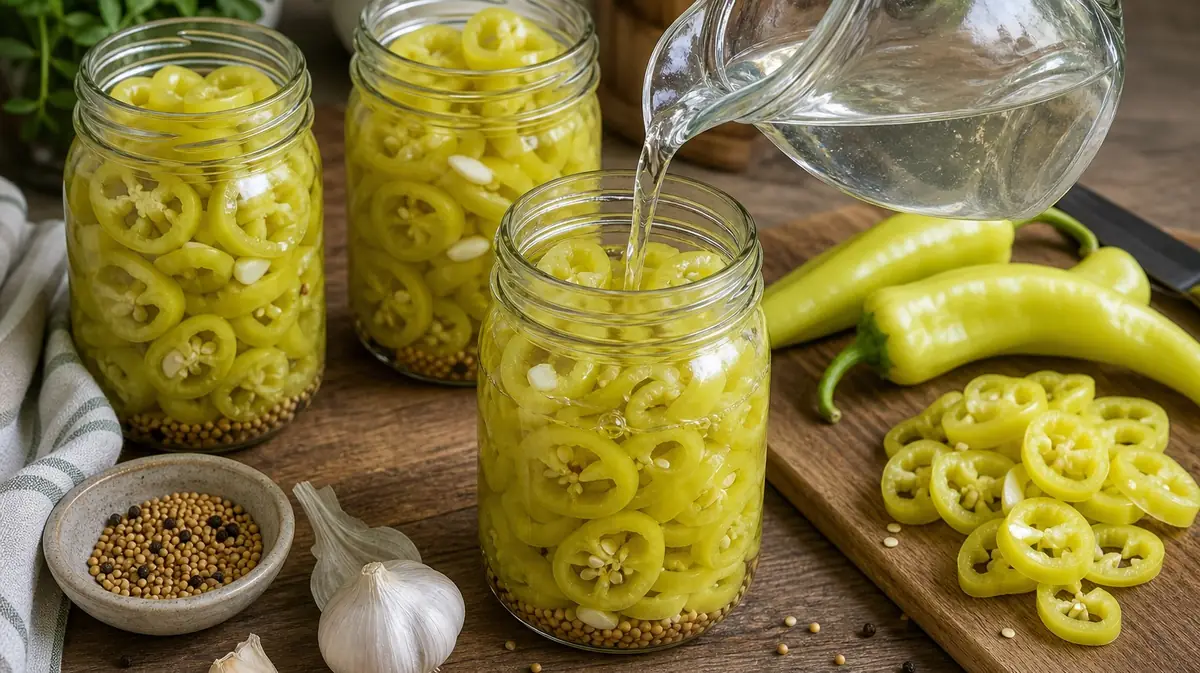
Wash and rinse four pint canning jars and keep them hot until filling. Prepare lids and bands according to the lid manufacturer's current directions.
Place ½ tablespoon celery seed and 1 tablespoon mustard seed in each hot pint. Fill the jars with pepper rings without crushing them against the glass.
- Bring the measured vinegar, water, and canning salt to a full boil in a stainless-steel or enamel pot.
- Pour the boiling liquid over the rings, leaving ½ inch of headspace.
- Slide a plastic bubble remover around the inside wall to release trapped air.
- Recheck the headspace and add hot liquid if the level fell.
- Wipe each rim with a clean, damp paper towel before applying the lid and band.
Headspace is measured from the top of the food or liquid to the jar rim. Too little can push liquid under the lid during processing; too much can leave excess air and interfere with seal formation.
A chopstick can release bubbles in a refrigerator jar, but canning tools made for jars reduce the chance of scratching or striking hot glass. Do not use a metal knife against the jar wall.
Process for your altitude
Load the filled pints into a boiling-water canner with water covering the jars by at least 1 inch. Start the processing clock only after the water returns to a vigorous boil.
NCHFP gives three times for raw-packed yellow pepper rings. Higher elevations require more time because water boils at a lower temperature.
| Elevation | Pint processing time |
|---|---|
| 0 to 1,000 feet | 10 minutes |
| 1,001 to 6,000 feet | 15 minutes |
| Above 6,000 feet | 20 minutes |
Maintain the boil for the entire scheduled time. If the boil stops, bring the canner back to a full boil and restart the complete processing time.
After processing, remove the jars without tilting them and let them cool undisturbed for 12 to 24 hours. Pressing lids or tightening bands while the jars are hot can disturb the seal.
Change flavor without changing safety
A canned pickle recipe is a measured preservation process. Reducing vinegar, adding more peppers, using a larger jar, or adding fresh onion and garlic changes acidity or heat penetration.
Penn State Extension permits changing the types and amounts of dried herbs and spices in tested canning recipes. That makes dried dill, peppercorns, or red pepper flakes better flavor adjustments than adding extra fresh vegetables.
White distilled vinegar may replace cider vinegar when it is labeled 5% acidity. Homemade vinegar and reduced-acidity products do not provide a verified acid concentration and should not be used for shelf-stable jars.
Do not use brine that has already held peppers for another pickling batch. University of Minnesota Extension explains that vegetables absorb acid from the liquid, so the remaining brine no longer has the original balance. Mix a fresh measured batch for every set of jars.
For more heat, dried red pepper flakes can season the canned rings without adding low-acid produce. Whole hot Hungarian wax pods belong in a separately tested formula or a refrigerator batch, not as extra peppers packed into the NCHFP yellow-ring recipe.
Commercial jars sometimes create confusion between banana peppers and pepperoncini. The way banana peppers and pepperoncini differ affects flavor, but it does not change the need to follow a tested formula for pantry storage.
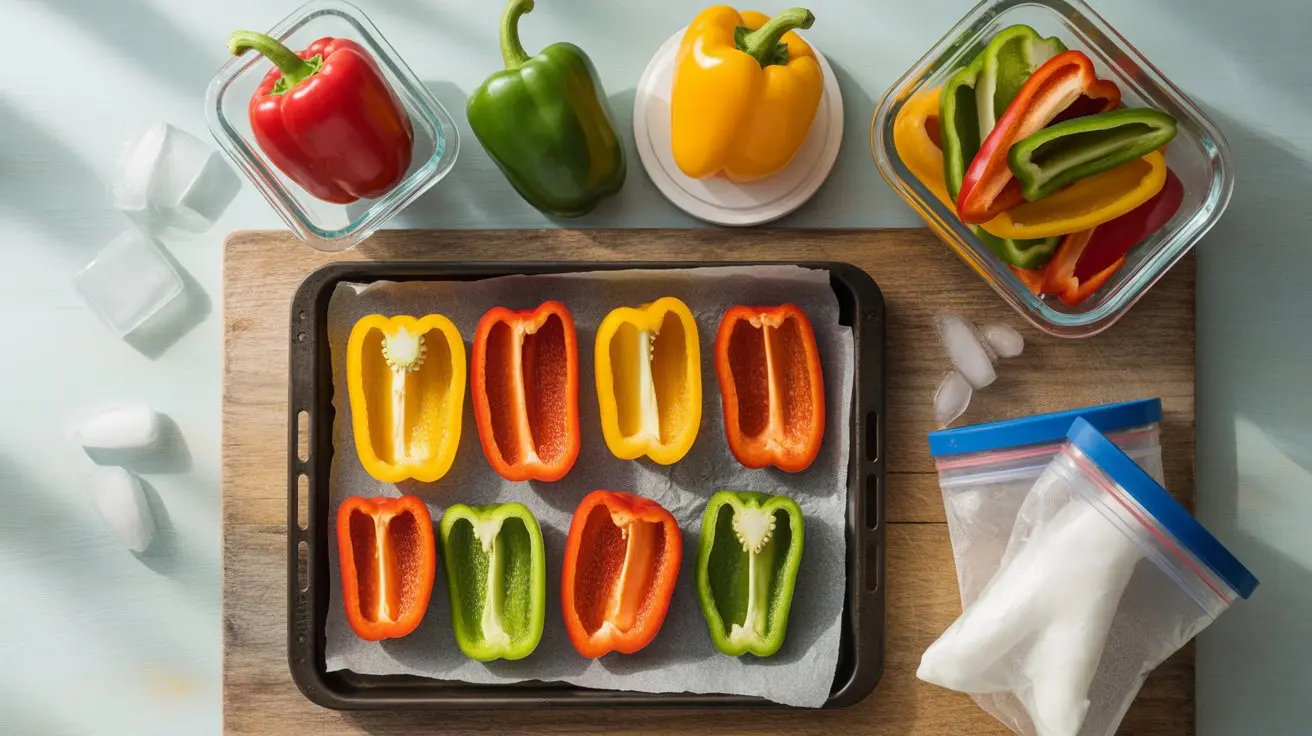
Protect the crunch
Firm, recently harvested pods give the best starting texture. If peppers need to wait, follow sound fresh pepper storage and pickle them before the walls wrinkle or soften.
Uniform ¼-inch rings heat and acidify more evenly than a jar containing paper-thin slices mixed with thick chunks. Thin slices soften first, while thick pieces can trap more air and pack unevenly.
More processing time is not an improvement unless altitude requires it. Use the published time for the jar size and elevation, keep a steady boil, and remove the jars when the process is complete.
Calcium chloride is an optional firming agent used in home pickling products. Penn State Extension advises following the product label for the amount; adding extra does not repair old peppers or an altered canning recipe.
Grape leaves are not required in the NCHFP yellow-ring formula. Fresh pods, the correct acid ratio, uniform cutting, and the stated processing time matter more than a traditional leaf added without a measured purpose.
Store jars and reject bad seals
After 12 to 24 hours, remove the screw bands and test each lid. A sealed lid is concave and does not spring upward when pressed at the center.
Wash residue from the outside of sealed jars, label them with the date, and store them without bands in a clean, dark, dry place. NCHFP recommends 50°F to 70°F for best quality and using home-canned food within 1 year.
Removing the bands makes a broken vacuum easier to spot and prevents a loose lid from being held against the rim. It also lets the bands dry instead of rusting in storage. If jars must be stacked, support the upper layer and keep the stack low enough that it does not press directly on the seals.
- Refrigerate any jar after opening.
- Use the University of Maine refrigerator version within 2 weeks.
- If a correctly processed jar fails to seal and the failure is found within 24 hours, refrigerate it and use it within 1 week.
- Discard a jar with a lost or bulging seal, leakage, rising bubbles, unnatural color, mold, spurting liquid, or an abnormal odor.
- Never taste a questionable jar to decide whether it is safe.
A sealed lid alone cannot rescue a recipe that used an untested acid ratio. If the pantry batch did not follow a current research-tested formula, NCHFP advises treating the jars as unsafe rather than relying on appearance or smell.
Once opened, the rings work as sandwich and pizza toppings or as an acidic accent in salads. A hotter cold-stored option such as refrigerated jalapeño rings can be prepared separately so each jar keeps a predictable flavor and heat level.