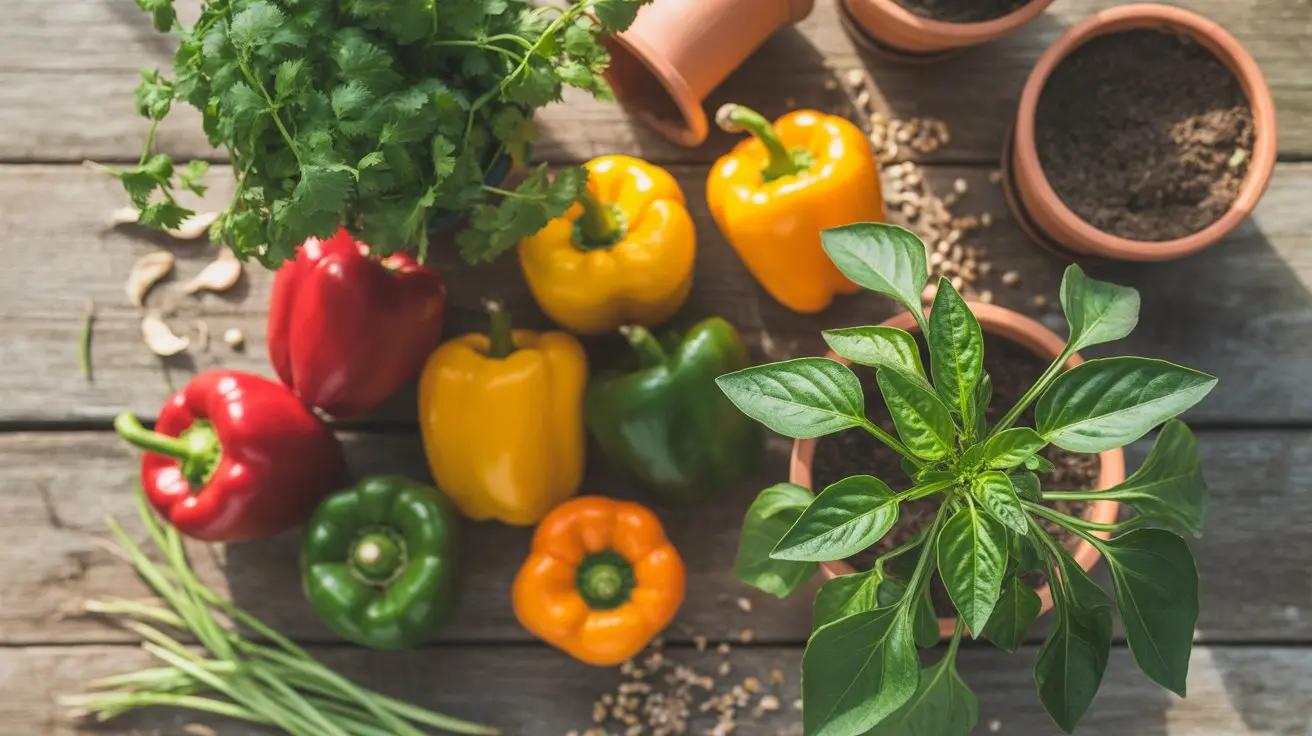
How to Grow Bell Peppers
Bell peppers need warm soil, full sun, consistent watering. Seed starting, color stages, common problems, containers.
Why Bell Peppers Reward Patient Growers
Bell peppers are the slowest-maturing pepper most home gardeners will ever grow — and that patience pays off in thick-walled, sweet fruit that tastes nothing like what sits under fluorescent lights at the grocery store.
Unlike fiery varieties such as the intensely pungent, small-fruited bird's eye or the sharp, lingering heat of Thai chilies, bell peppers register 0 Scoville Heat Units — they belong firmly in the mild end of the pepper scale, making them accessible to every cook and every palate.
That zero-heat profile comes from a recessive gene that blocks capsaicin production entirely, which is also why cross-pollination with hot varieties nearby can occasionally produce mildly spicy offspring in subsequent seed generations.
Starting Seeds Indoors: Timing Is Everything
Bell peppers need a long head start. Count back 8 to 10 weeks from your last frost date and that is when seeds go into trays — not a day later if you want full-size fruit before fall.
Soil temperature is the single biggest variable most growers underestimate. Germination stalls below 70°F (21°C) and peaks between 80-85°F (27-29°C). A heat mat under your seed trays is not optional if your home runs cool.
Fill cells with a sterile, fine-textured seed-starting mix — not garden soil, which compacts and can harbor pathogens. Sow seeds 1/4 inch deep, two per cell, and expect germination in 10 to 21 days at optimal temperature.
Once seedlings emerge, drop the ambient temperature slightly to 65-70°F during the day and provide 14-16 hours of light under grow lights positioned 2-3 inches above the canopy. Leggy seedlings are a symptom of insufficient light, not overwatering.
For a broader overview of indoor starting techniques that apply across pepper types, the step-by-step indoor pepper starting guide covers pot sizing, hardening off, and transplant timing in detail.
Soil Preparation and Site Selection
Bell peppers thrive in well-drained, loamy soil with a pH between 6.0 and 6.8. Outside that range, nutrient uptake suffers even if you fertilize correctly.
Choose a site that receives at least 6-8 hours of direct sun daily. Afternoon shade in climates above 95°F can actually help prevent blossom drop, but morning sun is non-negotiable for fruit set.
Work 2-3 inches of compost into the top 12 inches of soil before planting. Bell peppers are moderate feeders but they respond dramatically to good organic matter — it buffers moisture, feeds soil biology, and improves drainage simultaneously.
If your native soil is heavy clay, raised beds filled with a 60/30/10 blend of topsoil, compost, and perlite give bell peppers the root environment they prefer. Roots need oxygen as much as moisture.
Transplanting and Spacing
Move seedlings outdoors only after soil temperature holds consistently above 60°F (15°C) — bell peppers planted into cold soil will sit there sulking for weeks before putting on any growth.
Harden off transplants over 7-10 days by gradually increasing outdoor exposure, starting with an hour of morning shade and working up to full-day sun. Skipping this step causes leaf scorch and sets plants back significantly.
Space plants 18-24 inches apart in rows 24-36 inches apart. Crowding reduces airflow and invites fungal disease, while adequate spacing lets each plant develop the canopy it needs to support heavy fruit.
Plant at the same depth as the nursery container — unlike tomatoes, bell peppers do not benefit from deep planting. Set the root ball level with the soil surface and water in with a dilute balanced fertilizer solution.
Watering, Fertilizing, and Ongoing Care
Consistent moisture is critical. Bell peppers respond to irregular watering with blossom end rot and cracked fruit — both symptoms of calcium uptake disruption caused by moisture swings, not calcium deficiency itself.
Aim for 1-2 inches of water per week, delivered at the base of the plant. Drip irrigation or soaker hoses outperform overhead watering by keeping foliage dry, which reduces disease pressure substantially.
Mulch 2-3 inches deep around plants with straw or wood chips. Mulch moderates soil temperature, retains moisture between watering cycles, and suppresses weeds that compete for nutrients.
Feed with a balanced 10-10-10 fertilizer at transplant, then switch to a lower-nitrogen, higher-phosphorus formula once flowers appear. Too much nitrogen late in the season pushes lush foliage at the expense of fruit.
Side-dress with compost mid-season as a slow-release supplement. Plants that look pale or show yellowing lower leaves are signaling nitrogen hunger — a dilute fish emulsion application usually corrects this within a week.
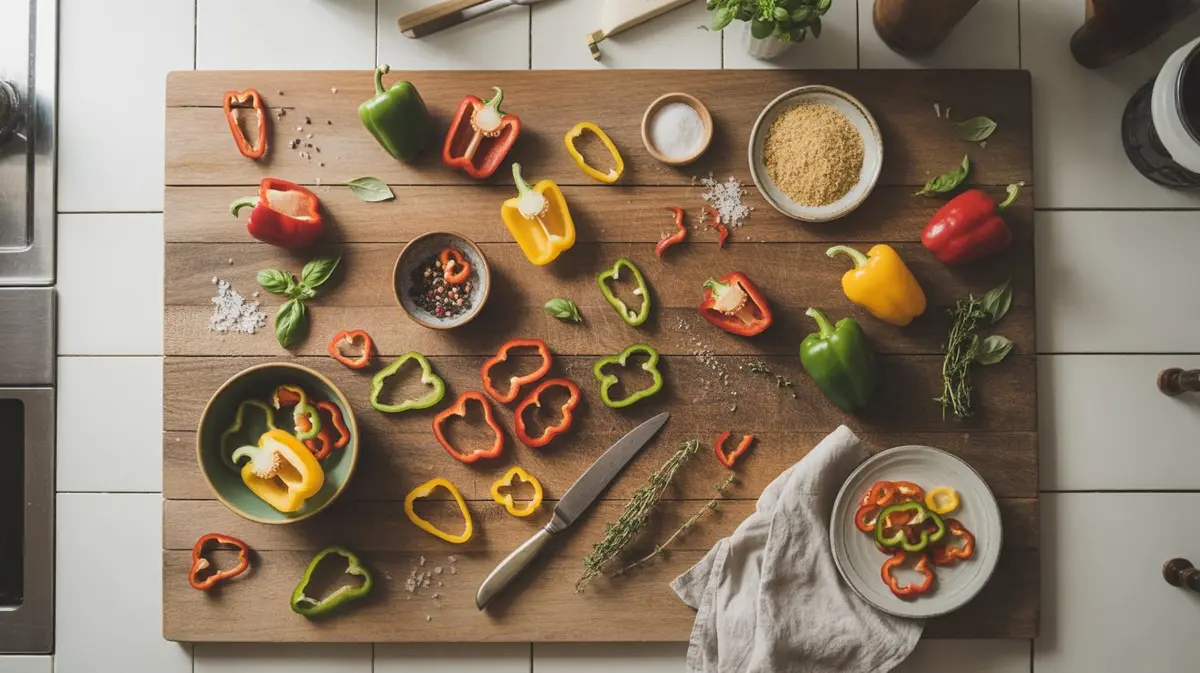
Understanding the Color Stages
Every bell pepper starts green. The color it eventually becomes — red, yellow, orange, purple, or chocolate — is genetically determined, not a sign of a different variety.
Green bells are harvested before full ripeness. They're firmer, slightly bitter, and lower in sugar and vitamins than their mature counterparts. Red bells are simply green bells left on the plant until fully ripe — a process that takes an additional 2-3 weeks after reaching full size.
Nutritionally, the difference is meaningful. Fully ripe red bells contain roughly 11 times more beta-carotene and nearly twice the vitamin C of green bells at the same size. The sweetness increase is equally dramatic.
The tradeoff is yield. Leaving fruit on the plant to ripen fully delays the next fruit set. In short-season climates, harvesting green and ripening indoors on a countertop is a practical compromise — though flavor won't fully develop off-vine.
Common Problems and How to Handle Them
Blossom drop is the most common complaint. Temperatures above 90°F (32°C) or below 55°F (13°C) during flowering cause blossoms to abort before pollination. Shade cloth at 30-40% density can extend the flowering window in hot climates.
Bacterial spot appears as water-soaked lesions that turn brown with yellow halos. It spreads rapidly in warm, wet conditions. Copper-based fungicides applied preventively help, but infected plants should be removed to prevent spread.
Sunscald shows as pale, papery patches on fruit facing direct sun. It's not a disease — it's a physical response to intense UV exposure. Maintain adequate leaf canopy and avoid heavy pruning that exposes fruit.
Pepper hornworms are less common on bells than tomatoes but do appear. Hand-pick larvae in the evening when they're most active, or apply Bacillus thuringiensis (Bt) spray as a targeted biological control.
Growing Bell Peppers in Containers
Bell peppers adapt well to container culture if you size the pot correctly. Each plant needs a minimum 5-gallon container — 7-10 gallons is better for full-size varieties. Undersized containers restrict root development and cause stress-induced blossom drop.
Use a high-quality potting mix rather than garden soil. Add slow-release granular fertilizer at planting and supplement with liquid feed every two weeks once flowering begins — containers leach nutrients faster than in-ground beds.
Container plants dry out faster, particularly in heat. Check soil moisture daily in summer; you may need to water every day when temperatures peak. Elevating pots on casters improves drainage and lets you move plants to optimize sun exposure.
Compact varieties like 'Lunchbox' or 'Pot-a-Peno' (a sweet bell-type) are better suited to containers than standard California Wonder types, which want more root room and produce heavier fruit loads.
Harvesting for Maximum Yield
Begin harvesting green bells once fruit reaches full size — typically 3-4 inches across for standard varieties. Use clean pruning shears rather than pulling; snapping fruit off can break branches and damage the plant.
Regular harvesting is the single most effective way to increase total yield. Leaving mature fruit on the plant signals it to stop setting new flowers. Picking frequently keeps the plant in production mode throughout the season.
A healthy plant in ideal conditions can produce 6-10 full-size peppers per season. Yield drops sharply when plants experience heat stress, drought, or nutrient deficiency during the critical 8-week window from first flower to mature fruit.
At season's end, green fruit can be brought indoors to ripen on a countertop at room temperature. Place them stem-side down in a single layer — they'll color up over 1-2 weeks, though sweetness won't fully match vine-ripened fruit.
Saving Seeds and Season Extension
Bell pepper seeds are easy to save. Allow one or two fruit to ripen completely — past the eating stage, until skin begins to wrinkle. Cut the pepper open, scrape seeds onto a paper towel, and dry at room temperature for 1-2 weeks before storing in a cool, dry location.
Saved seeds remain viable for 2-4 years when stored in an airtight container away from heat and light. Label with variety name and harvest year — germination rates decline gradually, so test viability by placing seeds on a damp paper towel before committing a full flat.
In zones 9 and above, bell pepper plants are technically perennial. Cutting plants back hard in fall, mulching heavily, and protecting from frost can carry them through to a second or third season — mature plants fruit earlier and more heavily than first-year transplants.
Row covers rated to 28°F (-2°C) can extend the harvest window by 3-4 weeks in fall, buying time for late-set green fruit to size up before the first hard freeze ends the season.
Bell Peppers in Context: The Broader Pepper World
Understanding where bell peppers sit in the broader Capsicum annuum species helps explain their behavior in the garden. They share the same species as jalapeños, poblanos, and cayennes — just expressing a completely different genetic profile.
The contrast with hot varieties is stark. The sharp, building heat of Korean Cheongyang chilies and the fierce, direct punch of Thai prik kee noo both come from capsaicin production that bell peppers simply don't have.
Even relatively mild hot peppers like the fruity, moderate heat of aji mirasol from South American traditions register thousands of Scoville units above zero. The small but surprisingly potent aji cito from Andean growing regions shows how dramatically heat can vary within a single genus.
For gardeners curious about Thai pepper cultivation traditions or the South American pepper heritage behind many of these varieties, those regional contexts explain a lot about why different peppers evolved such different heat levels and flavor profiles.
Bell peppers remain the gateway variety for most home gardeners — forgiving enough for beginners, rewarding enough for experienced growers, and versatile enough to anchor a kitchen garden for the full season.
Frequently Asked Questions
-
Most bell pepper varieties reach harvestable green stage 60-90 days after transplanting. Add another 2-3 weeks if you want fully ripe red, yellow, or orange fruit — color development requires the pepper to stay on the plant past full size.
-
Blossom drop is almost always a temperature problem. Flowers abort when daytime highs exceed 90°F or nights drop below 55°F. Inconsistent watering and overly high nitrogen fertilizer can also trigger drop even when temperatures are ideal.
-
Yes, but container size matters significantly. Use at least a 5-gallon pot per plant — 7-10 gallons produces better results. Compact varieties handle container constraints better than standard large-fruiting types, which need more root volume to support heavy yields.
-
Bell peppers are self-fertile and can pollinate without bees, but fruit set improves with some movement — wind or a gentle shake of the plant mimics what insects do naturally. Indoors, hand-pollinating with a small brush or electric toothbrush on the open flowers helps significantly.
-
That is sunscald — a physical response to direct UV exposure on fruit that lacks adequate leaf cover. It is not a disease and cannot spread. Maintain a healthy leaf canopy and avoid heavy pruning that exposes developing fruit to intense afternoon sun.