How to Grow Hatch Chile Peppers at Home
Hatch chile is a regional style, not one cultivar. Home growers can choose New Mexico varieties such as Big Jim or NuMex types, then focus on heat, sun, drainage, and harvest timing to get closer to the roasted Hatch flavor profile.
What Makes Hatch Chiles Different From Other New Mexico Peppers
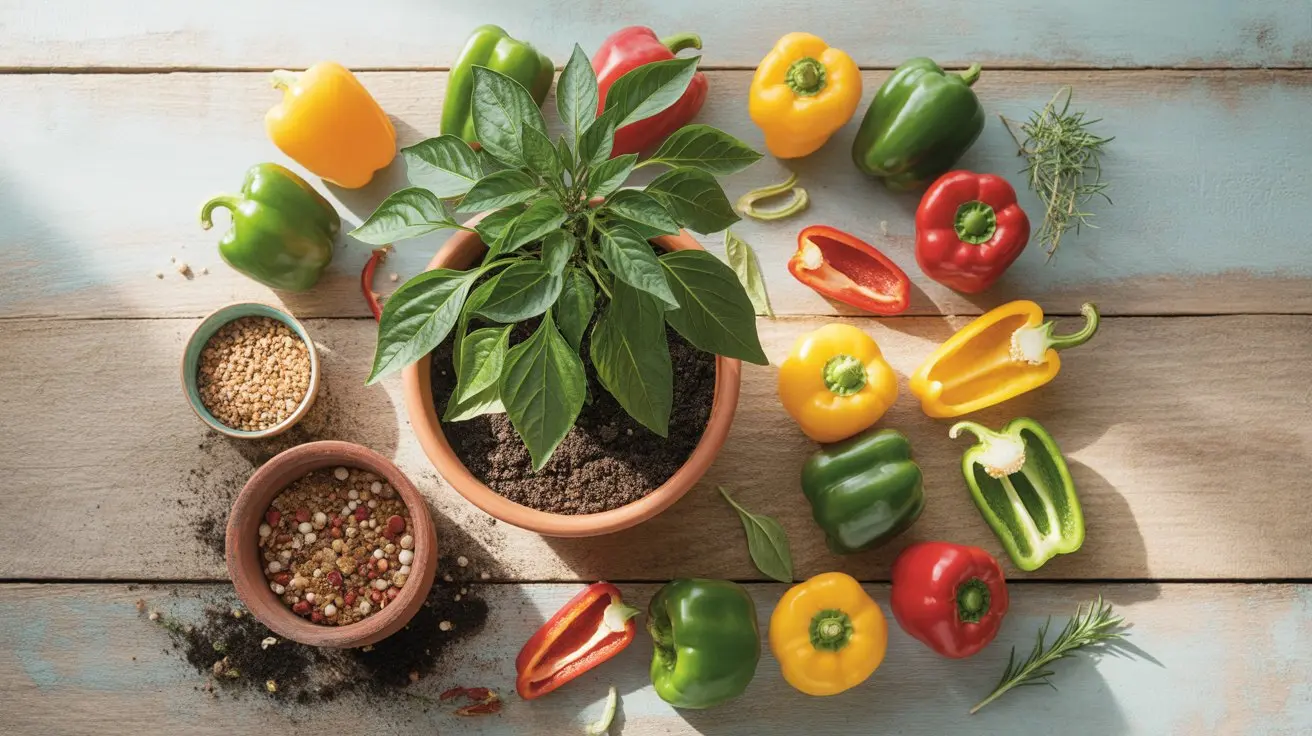
Hatch chiles carry a flavor that hits before the heat does — earthy, slightly sweet, with a roasted depth that no other pepper quite replicates. That character comes from the specific growing conditions of the Hatch Valley in southern New Mexico: alkaline soil, high desert elevation, intense sun, and dramatic day-to-night temperature swings.
Technically, "Hatch chile" is a regional designation, not a single variety. The peppers grown there belong to the the wider Capsicum annuum species group and include named cultivars like Big Jim, NuMex 6-4, Joe E. Parker, and Sandia. Each sits somewhere in the mild-to-medium SHU bracket, ranging from nearly sweet to a slow-building burn that lingers without scorching.
Growing Hatch-style chiles outside New Mexico is absolutely possible. The key is understanding what those desert conditions actually do to the fruit — and how to approximate them wherever you garden.
Choosing the Right Hatch Chile Variety for Your Climate
Seed selection matters more with Hatch chiles than with most peppers because the cultivars behave differently under heat stress, drought, and humidity.
Big Jim produces large pods (up to 12 inches) and mild heat — ideal for stuffing and roasting. It tolerates heat well but needs a long season, around 80 days to maturity. NuMex 6-4 is the classic commercial variety, consistent and productive, with slightly more heat than Big Jim. Sandia runs hotter — closer to the upper end of the medium range — and performs well in shorter seasons, making it a better choice for northern growers.
If you want a comparison to calibrate your heat expectations, a ripe Sandia delivers noticeably more burn than a sweet, candy-like Sugar Rush Stripey but stays well below the intensity of genuinely hot varieties. For the full picture of where New Mexico chiles sit on the heat spectrum, the Scoville measurement tool can help you map each cultivar.
For humid climates — the Gulf Coast, Southeast, Pacific Northwest — choose disease-resistant varieties and prioritize airflow in your planting layout. Fungal pressure is the primary threat in those regions.
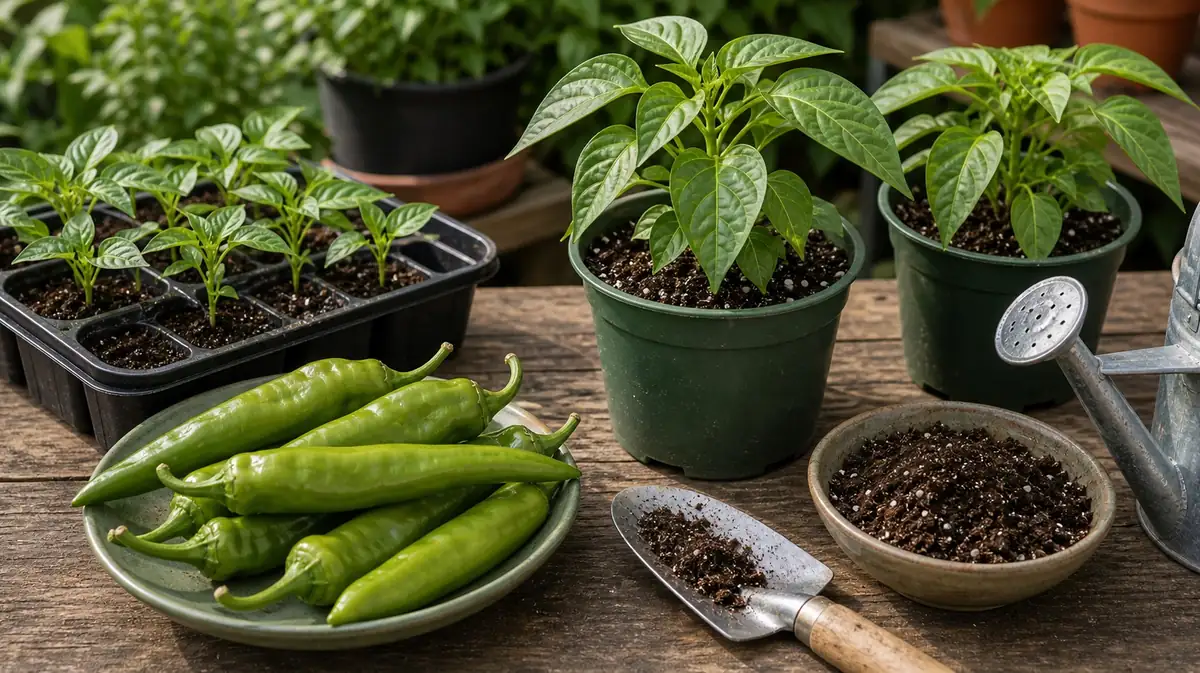
Starting Seeds Indoors: Timing and Setup
Hatch chiles need a long growing season, and that means starting seeds indoors 10-12 weeks before your last frost date. In most of the continental US, that puts germination in late January to mid-February.
Soil temperature is the variable most growers underestimate. Hatch chile seeds germinate best at 80-85°F soil temperature — not air temperature. A seedling heat mat is not optional here; it is the difference between 7-day germination and 3-week germination (or no germination at all). If you want a complete breakdown of the seed-starting process for peppers generally, the full pepper growing guide covers every stage in detail.
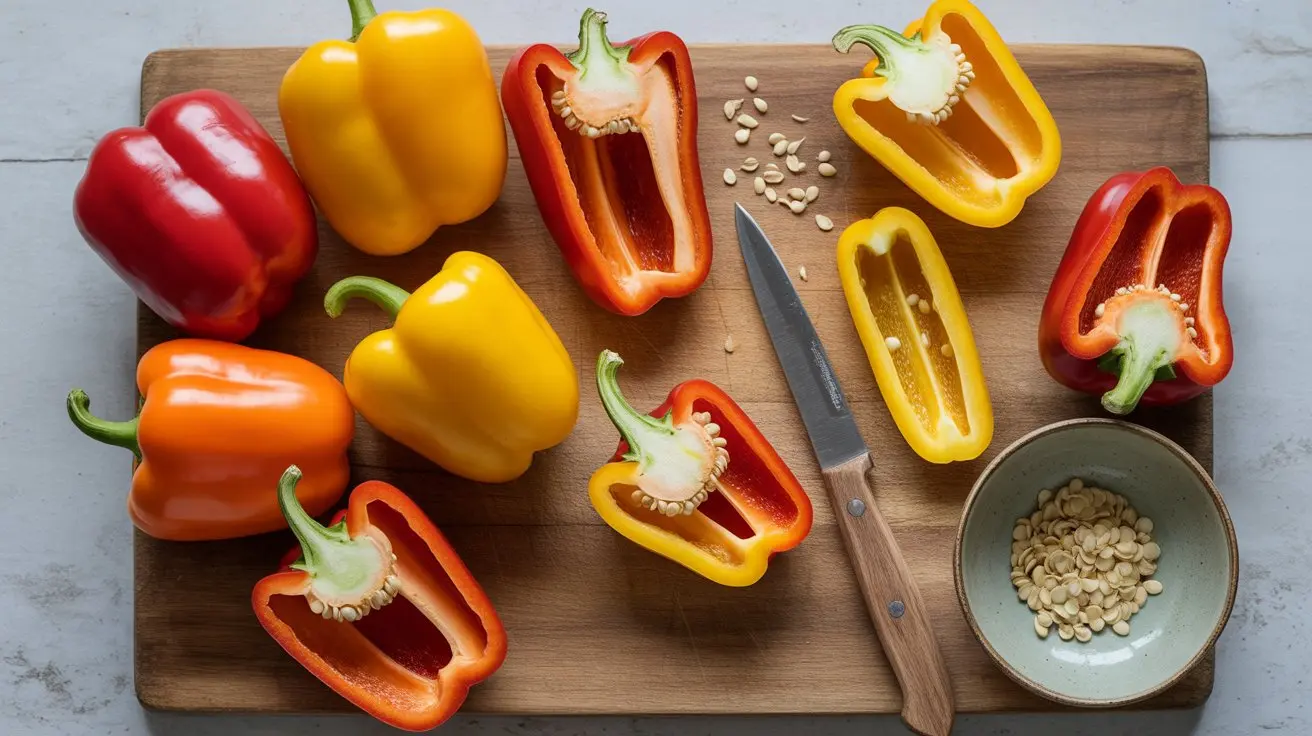
Use a sterile seed-starting mix, not garden soil. Plant seeds 1/4 inch deep, two per cell, and thin to the strongest seedling once both have true leaves. Keep the medium moist but not saturated — Hatch chiles are prone to damping off if the medium stays wet for extended periods.
Once seeds germinate, drop air temperature to 70-75°F during the day and provide 14-16 hours of light. A grow light positioned 2-3 inches above the seedlings prevents the leggy stretching that weakens transplants.
Transplanting and Site Preparation
Hatch chiles go into the ground after soil temperatures reach 60°F and nighttime lows stay consistently above 50°F. Planting into cold soil stalls growth and can cause blossom drop weeks later when the plant is under stress.
Harden off transplants over 7-10 days, starting with 2-3 hours of outdoor exposure in a sheltered spot and gradually increasing sun exposure. Skipping this step causes transplant shock that sets plants back by 2-3 weeks.
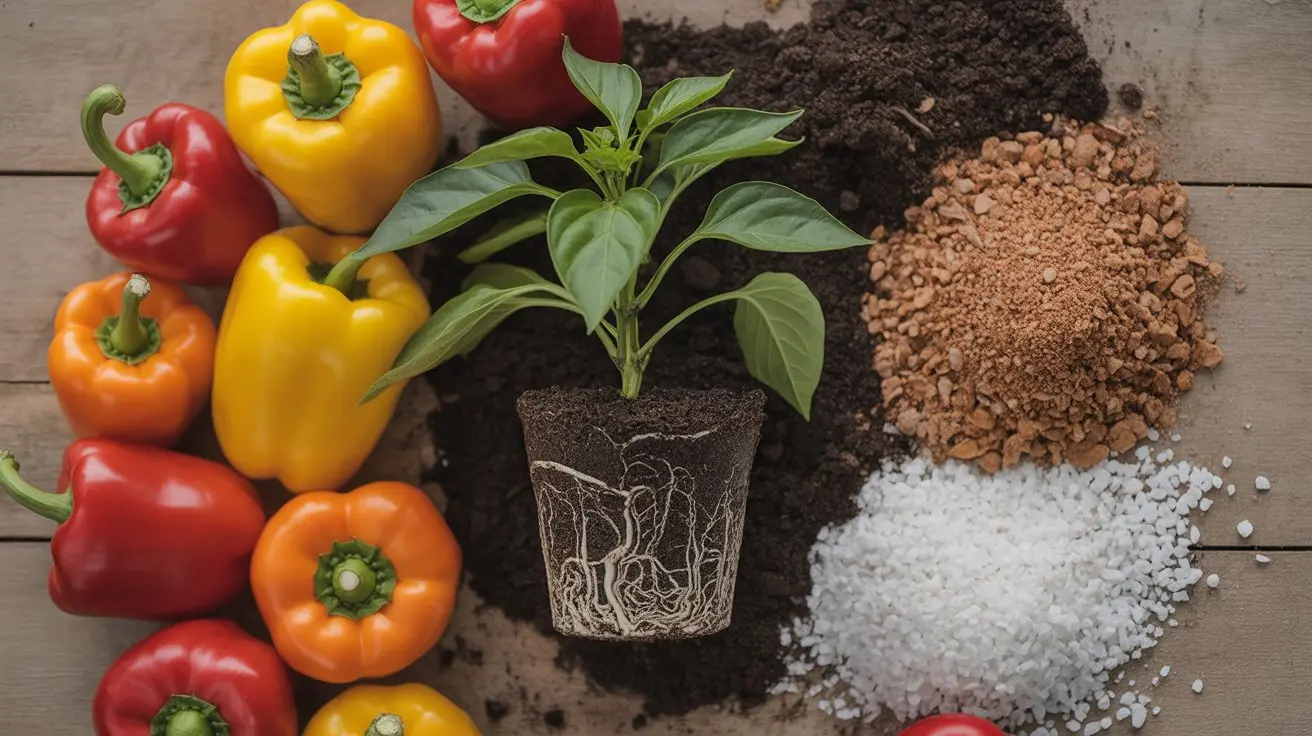
Site selection: Hatch chiles need full sun — 8 hours minimum, more is better. They are drought-tolerant once established but produce best with consistent moisture. Amend heavy clay soils with compost and sand to improve drainage. The alkaline soil of New Mexico (pH 7.0-8.0) is actually part of what shapes Hatch chile flavor; if your soil is very acidic, a light lime application can help mimic those conditions.
Space plants 18-24 inches apart in rows 30 inches apart. Closer spacing works in raised beds but reduces airflow — a trade-off worth considering in humid climates where fungal disease pressure is high.
Watering, Fertilizing, and In-Season Care
Consistent moisture matters more than total water volume. Hatch chiles drop blossoms when soil moisture fluctuates dramatically — a problem in both drought conditions and overwatered containers. Aim for 1-2 inches of water per week, delivered at the base of the plant. Drip irrigation or soaker hoses are significantly better than overhead watering, which promotes foliar disease.
Fertilization should match the plant's growth stage. High nitrogen early on builds vegetative structure; once flowering begins, shift to a lower-nitrogen formula with higher phosphorus and potassium to support fruit set. A balanced 10-10-10 at transplant, followed by a tomato-formula fertilizer at first flower, is a straightforward approach that works consistently.
Mulch heavily — 3-4 inches of straw or wood chips around the base conserves moisture, moderates soil temperature, and suppresses weeds. In hot climates, mulch can drop soil temperature by 10°F, which keeps roots productive during peak summer heat.
Hatch chiles are susceptible to aphids, spider mites, and pepper weevils. Monitor weekly and address infestations early. A strong spray of water handles minor aphid pressure; insecticidal soap works for more established colonies. Pepper weevils are harder to control and often require row covers during vulnerable stages in regions where they are common.
Growing Hatch Chiles by Climate Zone
The Hatch Valley sits in USDA Zone 7b-8a, with long hot summers and low humidity. Growers outside that climate need to make adjustments, not excuses.
Great Plains and Midwest (Zones 5-7): Season length is the constraint. Choose faster-maturing cultivars like Sandia or NuMex 6-4 over Big Jim. Use black plastic mulch to warm soil faster in spring and extend the season at the back end. Row covers add 2-4°F on cool nights and can buy critical weeks at both ends of the season.
Pacific Northwest (Zones 7-9): Cool summers and high humidity create a challenging combination. Start seeds early, use raised beds with dark-colored containers or plastic mulch, and prioritize varieties with some disease resistance. A greenhouse or high tunnel makes a significant difference here — Hatch chiles in an unheated tunnel outperform open-field plants by a wide margin in maritime climates.
Southeast and Gulf Coast (Zones 8-10): Heat is not the problem — humidity and fungal pressure are. Space plants generously, avoid overhead irrigation, and apply copper-based fungicide preventively if you have had bacterial spot in previous seasons. The long growing season is an advantage; fall plantings often outperform spring ones in this region.
Northeast (Zones 5-6): Challenging but doable. Focus on the shortest-season Hatch-type varieties, use season extension aggressively, and accept that yields will be lower than in ideal conditions. The flavor, even in a shorter season, is still distinctly different from supermarket peppers.
Harvesting at the Right Stage
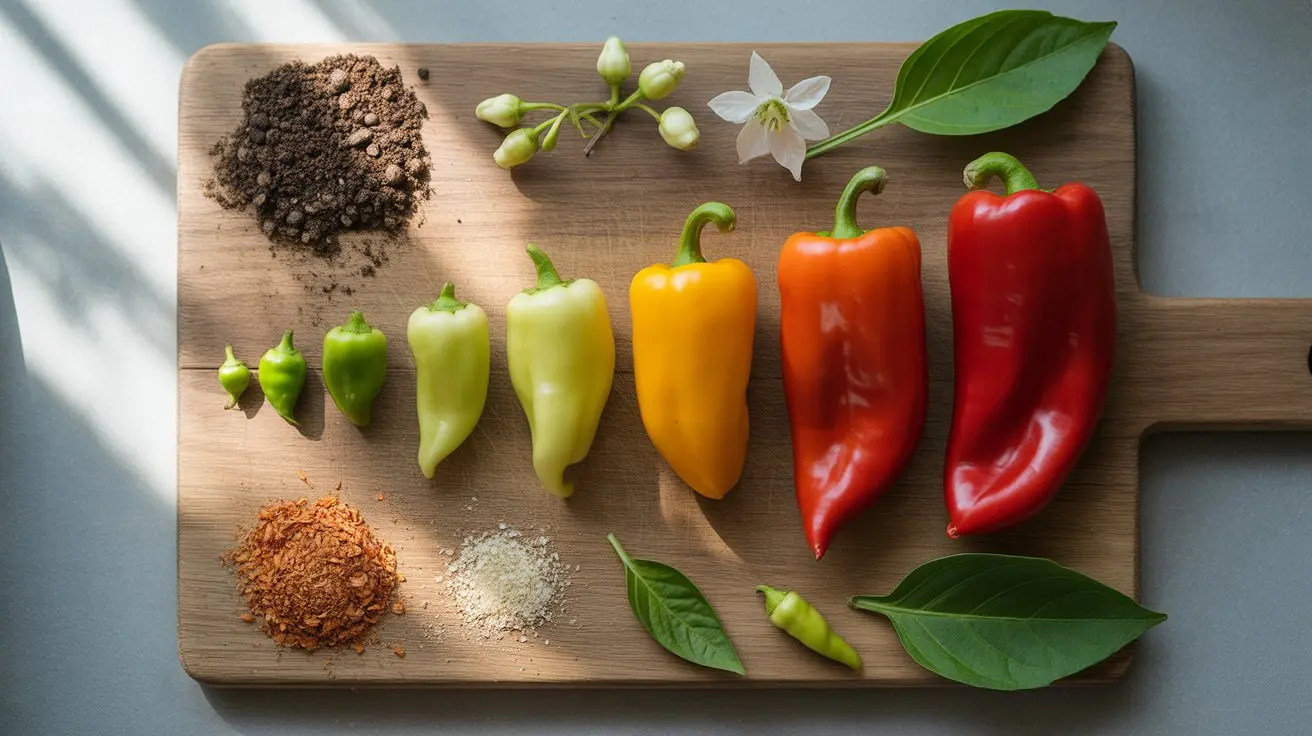
Hatch chiles are harvested at two distinct stages, and both are correct — they are just used differently.
Green stage (unripe): This is when most Hatch chiles are roasted and sold commercially. The flavor is grassy, vegetal, and complex, with heat that feels cleaner and brighter. Green harvest happens roughly 75-85 days after transplant, depending on variety.
Red stage (fully ripe): Left on the plant another 3-4 weeks, the pods turn red, develop more sweetness, and dry more readily. Red Hatch chiles are used for ristras and dried chile powder. The heat intensifies slightly at this stage as the capsaicin content concentrates.
Harvest green chiles before the first frost — they will not ripen further once cold-damaged. Red chiles can handle light cool temperatures but should come in before a hard frost. Cut pods with scissors or a sharp knife rather than pulling, which can damage the plant's branches.
A single established plant can yield 20-40 pods in a good season. Big Jim plants often exceed this, with some growers reporting 50+ pods per plant in optimal conditions.
Roasting and Preserving Your Harvest
Roasting is not just a cooking step for Hatch chiles — it is how the pepper's flavor fully expresses itself. The Maillard reaction on the skin creates the smoky, complex notes that define the Hatch experience. Raw Hatch chiles taste good; roasted ones taste like the reason people drive to New Mexico in August.
Roast directly over a gas flame, under a broiler, or on a grill at high heat, turning until the skin blisters and blackens on all sides. Place in a covered bowl or sealed bag for 10-15 minutes to steam — this loosens the skin for easy peeling. Wear gloves during peeling; the oils stay active even after roasting.
Roasted Hatch chiles freeze exceptionally well. Peel them, remove seeds if desired, and freeze in recipe-sized portions. They hold flavor for 12 months in a proper freezer. Many serious Hatch chile cooks freeze 50-100 pounds at the peak of the season and use them through the following summer.
For drying, leave pods on the plant until fully red, then string into ristras or dry in a dehydrator at 125-135°F until completely brittle. Dried and ground Hatch chile powder is a pantry staple worth making — the commercial versions rarely match the flavor of home-grown, home-dried pods.
How Hatch Chiles Compare to Similar Varieties
Understanding where Hatch chiles sit relative to other peppers helps with both cooking substitutions and growing decisions.
A mild Hatch chile like NuMex 6-4 produces heat similar to a Fresno — that familiar, approachable warmth that builds slowly and fades cleanly. Sandia runs roughly twice that intensity. Neither approaches the sustained fire of varieties like the Kanthari chili's sharp, biting heat or the Teja chili's dry, concentrated intensity — both of which belong to a different heat category entirely.
At the far end of the spectrum, peppers like the 7-Pot Yellow's tropical, extreme heat and the 7-Pot White's rare, punishing intensity exist in a completely different super-hot intensity tier — useful context for appreciating why Hatch chiles are so widely loved. Even the Nagabon's scorching Naga-derived heat dwarfs anything a Hatch chile produces. The medium heat intensity range where most Hatch cultivars land is exactly why they work in so many dishes — enough heat to matter, not so much that it dominates.
For a direct side-by-side on flavor and heat, understanding the capsaicin chemistry involved — specifically how receptor activation determines perceived burn — explains why Hatch chiles feel so different from equally-rated peppers from other regions.
Troubleshooting Common Hatch Chile Problems
Blossom drop is the most common frustration. Causes include temperatures above 95°F or below 55°F, inconsistent watering, and excess nitrogen. Address the environmental cause first before assuming disease.
Sunscald appears as pale, papery patches on fruit exposed to direct intense sun. It is more common in desert climates and on plants that lost foliage to disease or pest pressure. Shade cloth during peak afternoon sun helps; so does maintaining healthy leaf cover through consistent fertilization.
Blossom end rot in Hatch chiles is calcium-related, often triggered by inconsistent watering rather than actual calcium deficiency. Even out your irrigation schedule before reaching for calcium sprays.
Bacterial leaf spot shows as water-soaked lesions that turn brown with yellow halos. Remove affected leaves immediately, avoid overhead watering, and apply copper fungicide at the first sign. This disease spreads rapidly in warm, wet conditions and can defoliate a plant in weeks if unchecked.
Slow fruit set in humid climates often comes down to poor pollination. Hatch chiles are self-fertile but benefit from air movement and pollinator activity. Planting flowers nearby and avoiding broad-spectrum insecticides during bloom significantly improves fruit set.