
How to Grow Peppers From Seed by Counting Back From Transplant Day
Start pepper seeds by counting backward from a warm, frost-free transplant date. Sow 1/4 inch deep, manage warmth and moisture until emergence, then switch to strong light, airflow, root-based potting decisions, and gradual outdoor acclimation.
Start pepper seeds indoors by counting backward from the day your garden should be warm enough for transplanting. Most pepper transplants need roughly 8 to 10 weeks of managed growth, but slow germination, cool rooms, and very hot cultivars can extend that schedule.
Sow seeds about 1/4 inch deep in clean seed-starting mix, keep the root zone warm and evenly moist, then change the setup as soon as shoots emerge. The work is not one continuous routine because a covered germination tray and a growing pepper seedling need different conditions.
When should you start pepper seeds indoors?
Choose the outdoor date first, then count backward for hardening, seedling growth, and germination. Pepper seedlings should go outside only after frost danger has passed and the soil has warmed, so a local planting calendar is more useful than a universal month.
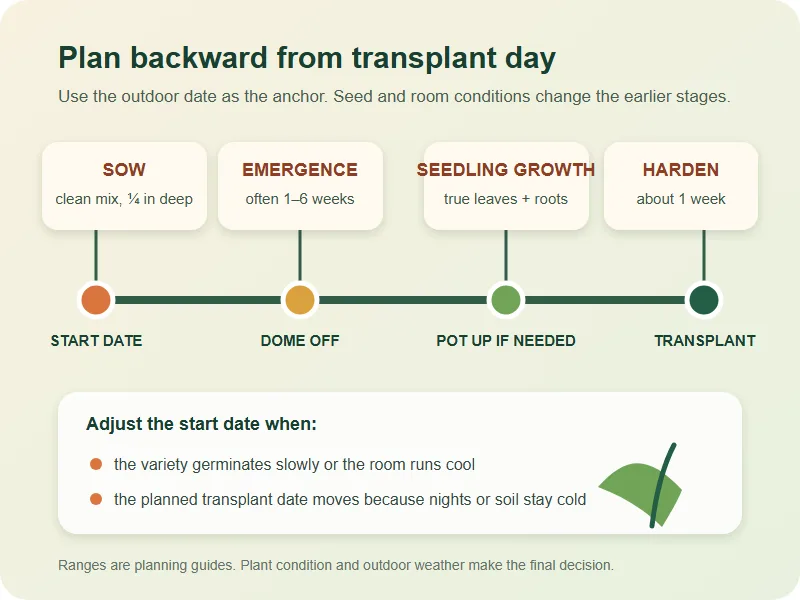
Utah State University Extension gives peppers about 8 to 10 weeks to reach transplant size under managed conditions. UC Agriculture and Natural Resources notes that germination alone can range from about 1 to 6 weeks, which explains why two seed lots sown together may not emerge together.
| Planning factor | What it changes | How to respond |
|---|---|---|
| Cool germination area | Emergence takes longer and may be uneven | Start earlier or add controlled bottom heat |
| Older or slow seed lot | The tray may sit longer before seedlings appear | Keep records and allow more germination time |
| Fast-growing seedlings | Roots may fill small cells before outdoor weather is ready | Plan room and mix for one pot-up |
| Cold spring forecast | The safe transplant date moves later | Delay hardening or hold plants under strong light |
A buffer is useful, but a very early start creates its own problem. Seedlings held too long in small containers become crowded, need more indoor space, and can flower before they have enough roots to support outdoor growth.
Sow shallowly in clean seed-starting mix
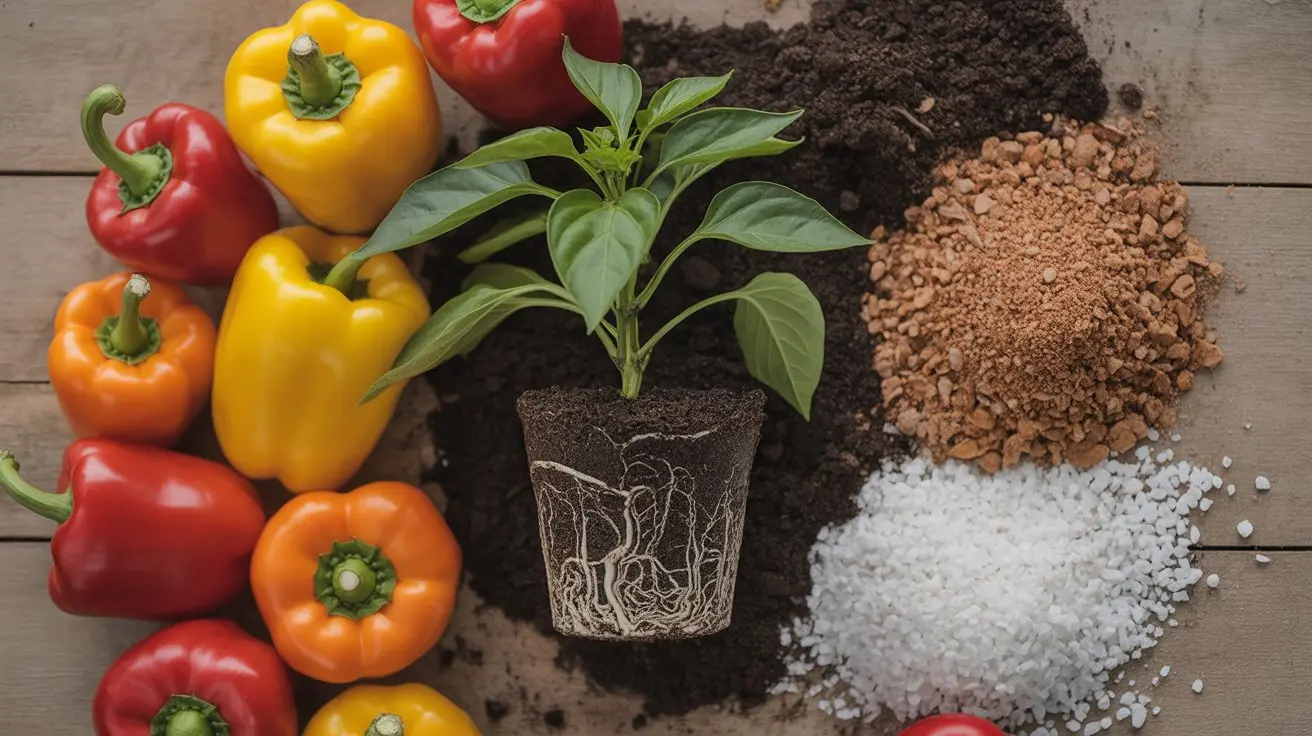
Use a sterile, fine-textured seed-starting mix rather than garden soil. Garden soil can compact in a tray, drain unevenly, and introduce organisms that are harder to manage around tender stems.
- Moisten the mix before filling the cells so it feels evenly damp without dripping.
- Fill and label the container before sowing, including the cultivar and date.
- Place one or two seeds in each cell and cover them with about 1/4 inch of mix.
- Water gently from below or with a fine spray so the seeds stay at the intended depth.
- Cover the tray loosely to slow moisture loss, then place it in a warm location.
If both seeds emerge, keep the stronger seedling and clip the other at the surface. Pulling one seedling can disturb the roots of the plant you intend to keep.
Cell size affects what happens later. A compact plug tray saves space during germination, while a larger starting cell gives roots more time before they need another container.
Control warmth and moisture until emergence
Warmth speeds pepper germination, but a heat mat does not correct dry mix, saturated mix, or weak seed. Utah State University Extension identifies 86°F as an optimum germination temperature for pepper transplant production, while home setups often fluctuate around the target.
| What you observe | Likely condition | First correction |
|---|---|---|
| Mix dries at the surface each day | Cover is open or air is very dry | Close the cover enough to slow evaporation and bottom-water as needed |
| Water beads and algae remain | Mix is saturated with little air | Drain the tray and let the surface approach damp before watering again |
| One side emerges first | Heat or moisture is uneven | Rotate the tray and check temperature across the cells |
| No emergence after the expected window | Seed, temperature, depth, or moisture may be responsible | Check records and conditions before disturbing the cells |
Check the tray daily without digging for seeds. A seed can be viable and simply slow, while repeated excavation can break an emerging root.
Remove the humidity cover when shoots begin to appear. Leaving seedlings sealed under high humidity increases disease risk and delays the transition to the airflow and light they now need.
Switch to seedling conditions after emergence
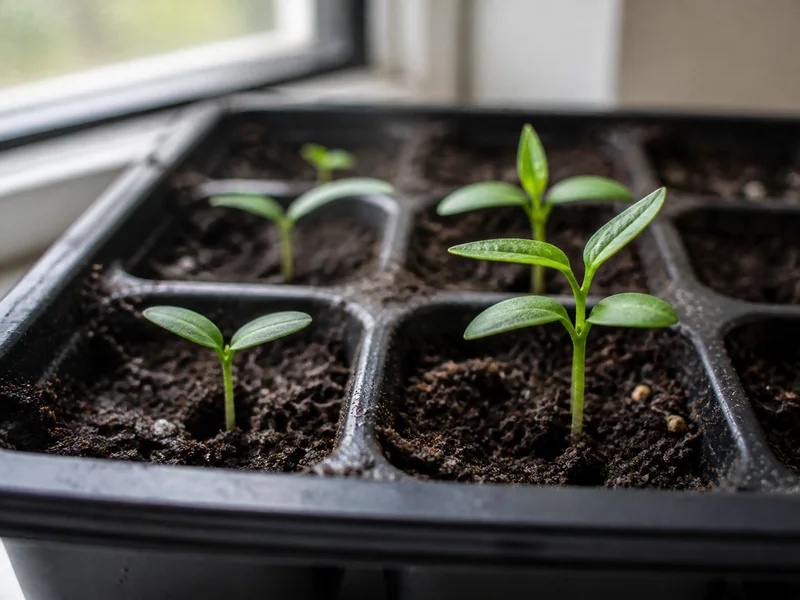
Move emerged seedlings under strong light immediately and run the light for about 14 to 16 hours each day. Keep the fixture close enough for compact growth according to its manufacturer, then raise it as the canopy grows.
- Remove the dome so air can move around the stems.
- Turn off or reduce bottom heat if it makes the growing mix excessively warm.
- Water when the surface begins to lighten, not on a fixed daily schedule.
- Use a small fan on a gentle setting or provide light natural air movement.
- Rotate the tray if seedlings consistently lean toward one side.
The first smooth leaves are cotyledons, which supplied the embryo before it could photosynthesize effectively. The next leaves have the pointed form of a pepper leaf and mark the start of sustained seedling growth.
Seedlings that stretch between the tray and light need more usable light, not more fertilizer. Reduce the distance to the fixture within its safe operating range and give the tray even exposure.
When should you feed and pot up pepper seedlings?
Begin light feeding after true leaves appear if the seed-starting mix contains little or no fertilizer. Use a dilute complete fertilizer at the product's seedling rate because excess salts can injure small roots and force soft growth.
| Trigger | Decision | What to do |
|---|---|---|
| Only cotyledons are open | Wait to feed | Maintain light, moisture, and airflow |
| First true leaves are expanding | Start gentle nutrition | Apply dilute fertilizer to already moist mix |
| Roots hold the plug together | A larger container may help | Move the intact root ball into fresh mix at the same depth |
| Dense roots circle the cell | Pot up promptly | Loosen only obvious circling roots and avoid tearing the root ball apart |
Handle a seedling by a leaf or the root ball rather than pinching its stem. A damaged leaf can be replaced, while a crushed main stem can end the plant.
Potting up is not mandatory for every schedule. A seedling started in a roomy cell shortly before its outdoor date may reach transplant size without an intermediate move.
What do common pepper seedling problems mean?
Most indoor seedling problems point back to light, moisture, temperature, root space, nutrition, or sanitation. Treat the visible pattern as evidence, then change the first condition that explains it.
| Symptom | Most useful checks | First action |
|---|---|---|
| Long, thin, leaning stems | Light distance, duration, and side lighting | Increase usable overhead light and rotate the tray |
| Pale new growth after true leaves | Mix fertility, root health, and watering frequency | Correct saturated roots first, then use dilute complete fertilizer if needed |
| Growth stalls in a small cell | Root density and cold growing conditions | Pot up if crowded or raise the growing temperature moderately |
| Stem narrows and collapses at the mix line | Persistent surface moisture, crowding, and airflow | Discard affected plants and improve sanitation and air movement |
| Leaves curl upward under lights | Fixture heat, dry mix, and fertilizer strength | Measure conditions before moving the light or feeding again |
A collapsed stem at the soil line is consistent with damping off and is not repaired by watering. Remove the plant and contaminated debris, then keep neighboring cells less wet and better ventilated.
Yellow leaves do not identify one cause by themselves. Their position on the plant, the moisture in the root zone, and whether new growth is affected narrow the diagnosis.
When are pepper seedlings ready to go outside?
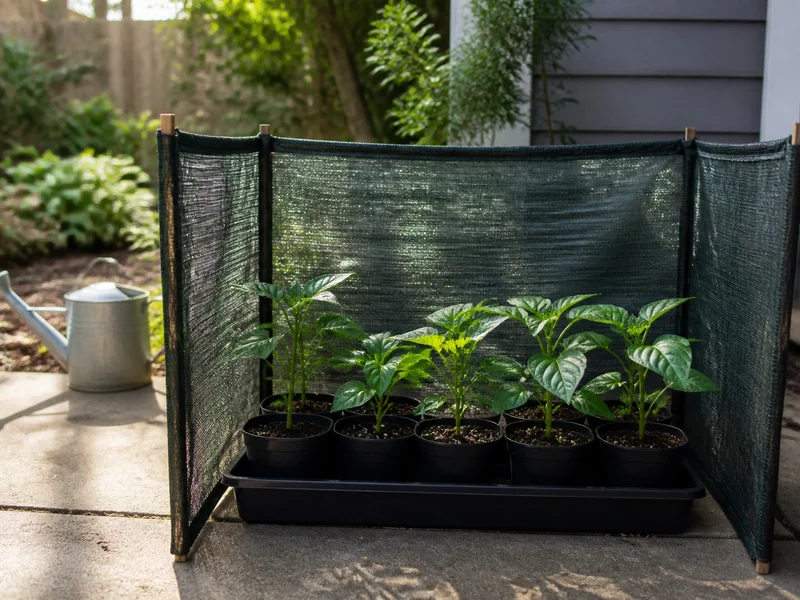
A transplant-ready pepper is compact, has a sturdy stem, five to seven mature leaves, and a developed root system that is not a dense circling mass. The outdoor site should also be past frost risk with warm soil and nights that will not chill a warm-season plant.
| Readiness check | Ready | Delay when |
|---|---|---|
| Leaves and stem | Compact growth with several healthy mature leaves | Stem is weak, growth is newly damaged, or pests are present |
| Roots | White roots hold the mix without forming a hard mat | Roots are rotten, sparse, or severely bound |
| Weather | Frost risk has passed and soil is above about 60°F | Cold nights, strong wind, or a sharp weather change is forecast |
| Acclimation | Plant tolerates several hours of outdoor light and air | Leaves scorch, wilt severely, or fail to recover indoors |
Begin hardening in a sheltered, shaded place for a short period, then increase outdoor time and light over about a week. Bring peppers back inside when nights are too cold, and do not use wilting as the method of hardening them.
Transplant on a calm, mild day and water the root ball thoroughly. The next phase is outdoor pepper care, where spacing, irrigation, fertility, flowering, pests, and harvest depend on the bed and cultivar rather than the seed-starting tray.
How to Grow Peppers From Seed by Counting Back From Transplant Day FAQ
- Growing Peppers from Seed, Part 1 — UC Agriculture and Natural Resources
- Growing Peppers from Seed, Part 2 — UC Agriculture and Natural Resources
- Transplant Production — Utah State University Extension
- Starting Vegetable Seeds Indoors — Utah State University Extension
- Growing Peppers — University of Minnesota Extension
- Damping Off of Seedlings — UC Statewide IPM Program