Pepper Fermentation Guide
Ferment peppers for hot sauce. Salt ratios, timelines, vessels, and troubleshooting. Find your perfect heat level.
Why Fermentation Makes Better Hot Sauce
Raw pepper mash blended with vinegar makes a perfectly serviceable hot sauce. Fermented pepper mash makes something alive — layered, funky, and complex in ways that vinegar alone cannot replicate.
The difference comes down to lactic acid bacteria, the same microorganisms responsible for kimchi, sauerkraut, and yogurt. These bacteria consume sugars in the pepper flesh and produce lactic acid, which preserves the mash while developing flavors that deepen over days and weeks.
The burn you taste in a well-fermented hot sauce is still there — capsaicin doesn't break down during fermentation — but it sits differently on the palate, softened by acidity and surrounded by savory, almost umami-like notes that fresh peppers simply don't have. For a deeper look at how capsaicin interacts with your pain receptors, the biochemistry and receptor science behind the heat response is worth understanding before you start adjusting ratios.
Choosing Your Peppers
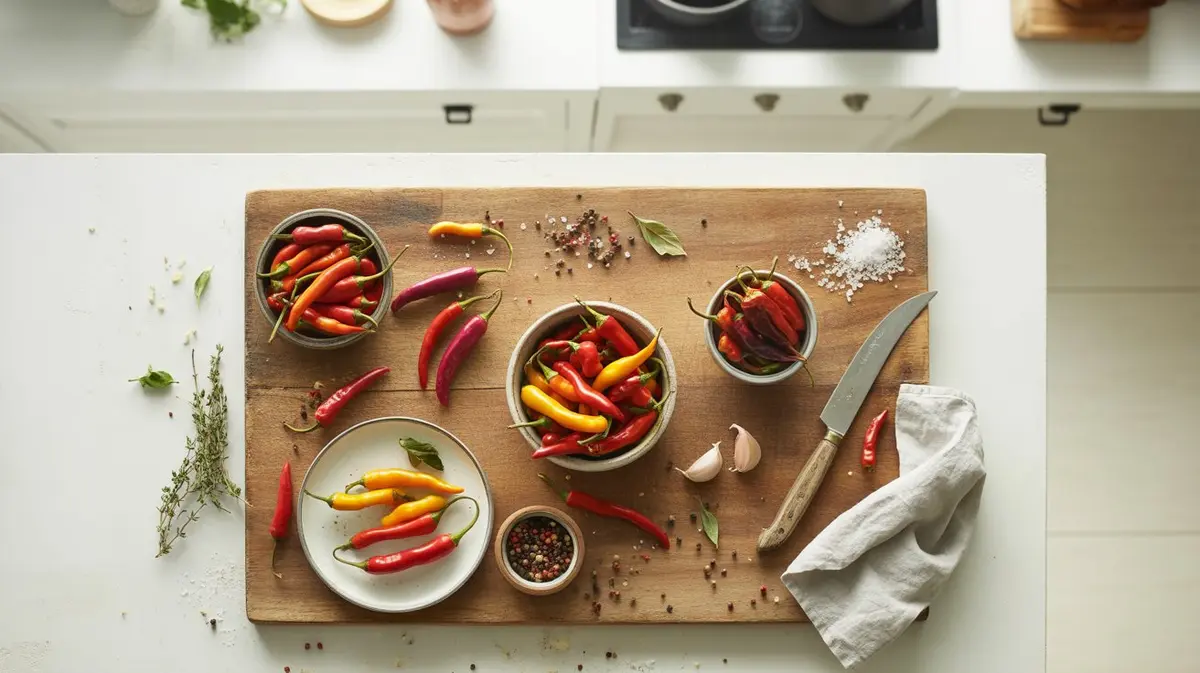
Almost any pepper ferments well, but your choice shapes everything — heat, color, and final flavor profile.
For mild, sweet ferments, zero-heat bell peppers with their thick, sweet flesh provide body and natural sugar that feeds fermentation. They're often blended with hotter varieties to add volume without adding fire.
Mid-range options give you more flexibility. The fruity, medium-heat Santa Fe Grande is underused in fermentation but excellent — its waxy skin softens beautifully, and the flavor turns almost tropical after two weeks in brine. Thai varieties like the sharp, bright heat of Prik Jinda ferment quickly due to their thin walls and produce a punchy, Southeast Asian-style sauce.
If you want serious heat, the deeply fruity, extreme heat of the 7 Pot Jonah and its relatives are popular fermentation choices — their fruity notes amplify during fermentation rather than disappearing. The citrusy, super-hot 7 Pot Yellow produces a sauce with unusual brightness. For something with documented extreme heat, the scorching intensity of the 7 Pot Katie is a serious undertaking — gloves are not optional.
Mix varieties freely. A blend of hot-tier peppers in the 100,000-350,000 SHU range with a handful of sweet peppers often produces more balanced results than any single variety alone.
Salt Ratios: The Most Important Variable
Salt concentration determines which microorganisms survive in your ferment. Too little salt and you risk mold or unwanted bacteria. Too much and you slow or stall fermentation entirely.
The standard range for pepper fermentation is 2-3% salt by weight of the total brine solution. Most home fermenters land at 2.5% as a reliable middle ground — enough to suppress harmful bacteria while leaving lactic acid bacteria free to work.
To calculate: weigh your peppers in grams, add the water you plan to use, multiply the total by 0.025, and that's your salt in grams. A kitchen scale is not optional here — measuring by volume introduces too much variation.
Use non-iodized salt. Iodine is added to table salt specifically to kill bacteria, which is exactly what you don't want in a ferment. Kosher salt, sea salt, and pickling salt all work. Diamond Crystal and Morton kosher salts have different densities, so always weigh rather than measure by volume.
Higher salt percentages (up to 3.5%) slow fermentation and are useful in hot weather when you want more control. Lower percentages (around 2%) speed things up but require more attention. In a warm kitchen above 75°F, stick to 3%.
Vessels and Equipment
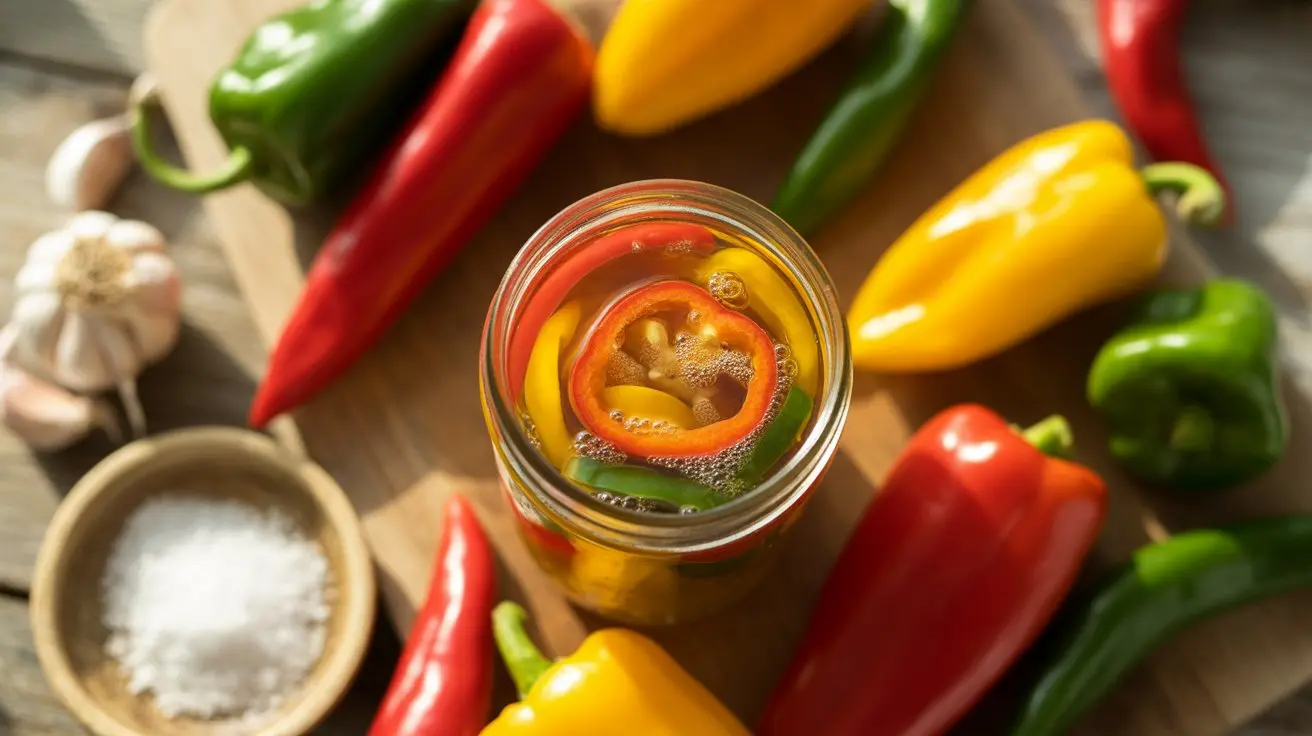
You don't need specialty equipment to ferment peppers. A mason jar with a loose lid works. What you need is an anaerobic environment — one where oxygen can escape but air can't freely enter.
The simplest setup: a wide-mouth mason jar with the lid loosely screwed on. Carbon dioxide produced during fermentation will push out through the loose seal. Check daily and burp the jar if pressure builds. This works fine for ferments under two weeks.
Airlock lids (available for standard mason jar mouths for a few dollars) remove the guesswork. They allow CO2 to escape through a water seal while preventing oxygen from entering. Highly recommended for longer ferments or warmer environments.
Dedicated fermentation crocks with water-seal channels are the traditional option. They're excellent for large batches but not necessary for most home projects.
Whatever vessel you use, keep it out of direct sunlight. UV light degrades capsaicin and can affect fermentation activity. A dark cabinet at room temperature is ideal.
The Fermentation Process, Step by Step
- Prepare your peppers. Remove stems. Leave seeds in for more heat, remove for less. Rough chop or leave whole for whole-pepper ferments. Wear gloves when handling anything above the extra-hot SHU bracket.
- Make your brine. Dissolve salt in room-temperature or slightly warm water. Don't use hot water — it can kill beneficial bacteria on the pepper skins. Let it cool completely if you've warmed it.
- Pack your vessel. Add peppers to the jar. Pour brine over them. Every piece of pepper must stay submerged below the brine line. Oxygen exposure above the brine causes mold.
- Weight them down. Use a small zip-lock bag filled with brine, a purpose-made fermentation weight, or a smaller jar that fits inside the mouth. The goal is keeping everything under liquid.
- Seal and wait. Attach your lid or airlock. Label the jar with the date and salt percentage. Place in a stable-temperature location.
- Monitor daily. Look for bubbling, which signals active fermentation. Taste after 5 days. Adjust your endpoint based on flavor — more time means more funk and acidity.
- Blend and finish. When flavor is where you want it, drain the brine (save it), blend the peppers, and strain if desired. Add reserved brine to adjust consistency. Bottle and refrigerate.
Timeline and Temperature
Fermentation speed is directly tied to temperature. At 65-70°F, a typical ferment takes 10-14 days to develop full character. At 75-80°F, you might hit the same flavor profile in 5-7 days.
The first 1-3 days are usually quiet — the bacteria are establishing. Days 3-5 typically show active bubbling. By day 7, the color shifts, the brine clouds, and the smell changes from fresh pepper to something more complex and sour.
Tasting along the way is the only reliable method. There's no universal "done" — a lightly fermented 5-day mash and a deeply funky 21-day ferment are both valid endpoints, just different products. Short ferments taste brighter and more like fresh pepper. Long ferments develop more depth, more acidity, and more complexity.
If you're working with mild-heat peppers like bells or banana peppers, longer ferments help build flavor that the lack of capsaicin doesn't provide. With super-hot varieties, even a short ferment delivers plenty of character.
Troubleshooting Common Problems
White film on the surface: This is almost always kahm yeast — a harmless but annoying film that forms when oxygen reaches the brine surface. Skim it off and ensure peppers are fully submerged. Kahm yeast is not mold; it's flat, white, and smooth. It won't ruin your ferment.
No bubbling after 5 days: Check your temperature — below 60°F, fermentation slows dramatically. Check your salt percentage — above 4%, you may have inhibited bacterial activity. Try moving the jar somewhere warmer.
Too sour, too fast: This happens in warm kitchens. Move to a cooler location or increase salt percentage next time. You can also blend and refrigerate early to stop fermentation at a milder acidity.
Mushy peppers: Thin-walled peppers get soft quickly. This is normal and doesn't affect the sauce. Thick-walled varieties like bells hold their texture longer if you prefer a chunkier mash before blending.
Salt-Free and Reduced-Salt Approaches
Traditional lacto-fermentation relies on salt to create a selective environment. Reducing salt significantly below 2% is possible but requires more attention and a faster timeline.
Some fermenters use starter cultures — a tablespoon of whey from yogurt, liquid from a previous ferment, or commercial lactobacillus cultures — to jumpstart fermentation at lower salt levels. This introduces a strong bacterial population before unwanted organisms can establish.
Reduced-salt ferments (1-1.5%) work best in cooler temperatures and should be consumed faster. They're more vulnerable to mold and off-flavors, but the resulting sauce is noticeably less salty.
For those on sodium-restricted diets, blending fermented peppers with a small amount of apple cider vinegar and refrigerating immediately is a middle-ground approach — you get some fermentation character without the full salt load.
Building Heat Levels Into Your Sauce
Fermentation doesn't change a pepper's base heat — it changes how that heat is perceived. The acidity produced during fermentation can make heat feel sharper or, counterintuitively, more integrated and rounded depending on the pepper.
Blending ratios give you the most control. A sauce built on medium-intensity peppers in the 2,500-30,000 SHU zone with a handful of super-hots added provides a heat curve that builds gradually rather than hitting immediately. Reverse the ratio for a sauce that opens hot and stays hot.
The organoleptic testing method used to measure pepper heat won't apply to your home ferment, but understanding how those measurements work helps you predict how pepper blends will behave. A sauce made from a 50/50 blend of a 100,000 SHU pepper and a zero-SHU bell doesn't land at 50,000 SHU — it's closer to that, but flavor compounds from the bell also affect perception.
If you're growing your own peppers for fermentation, the full seed-starting and cultivation guide covers everything from germination timing to harvest indicators that affect fermentation quality.
Finishing, Bottling, and Storage
Once fermentation reaches your target flavor, you have several finishing options.
For a smooth sauce: blend the mash with some reserved brine, strain through a fine-mesh strainer or cheesecloth, and bottle. Adding a small amount of apple cider vinegar (1-2 tablespoons per cup of sauce) both brightens the flavor and adds an extra layer of preservation.
For a chunky sauce or paste: skip straining. Some fermenters blend briefly and leave texture in the final product.
Refrigerated fermented hot sauce keeps for 6-12 months easily. The lactic acid environment is inhospitable to most spoilage organisms. Flavor continues to develop slowly in the fridge — a sauce bottled at 10 days will taste different at 60 days, usually better.
For shelf-stable bottling, the pH must be below 4.6 to prevent botulism risk. Use pH test strips or a digital pH meter to verify before shelf storage. Most properly fermented sauces hit 3.5-4.0 naturally, but don't assume — test before storing outside the refrigerator.
Flavor Pairings and Variations
Fermented peppers pair naturally with aromatics added to the initial brine. Garlic, ginger, shallots, and citrus zest all ferment alongside the peppers and integrate into the final sauce.
Garlic added at the start will mellow significantly — raw garlic's sharpness rounds into something sweet and savory after two weeks in brine. Add more than you think you need.
Fruit additions — mango, pineapple, peach — work in shorter ferments (5-7 days) before the fruit breaks down too far. They add natural sugars that accelerate fermentation and contribute sweetness to the finished sauce.
For a sauce inspired by Southeast Asian profiles, thin-walled Thai varieties fermented with lemongrass and galangal produce something close to a fermented sriracha base. Caribbean-style sauces built on habanero-family peppers with fruit and allspice lean toward the flavor tradition of Caribbean pepper-making.
Frequently Asked Questions
-
Use 2-3% salt by weight of your total brine solution, with 2.5% as the most reliable starting point. Always weigh your salt rather than measuring by volume, and use non-iodized salt only.
-
At 65-70°F, most pepper ferments develop good flavor in 10-14 days. Warmer temperatures speed things up to 5-7 days. Taste starting at day 5 and stop when the flavor reaches your preference.
-
White film is almost always kahm yeast, which is harmless. Skim it off and ensure all peppers remain submerged. Fuzzy growth in green, black, or pink colors is actual mold and requires discarding the batch.
-
No, but it helps. A loosely sealed mason jar works for short ferments under two weeks. Airlock lids remove the need to manually burp the jar and reduce mold risk during longer ferments.
-
Test the pH with strips or a digital meter before shelf storage. The sauce must read below 4.6 pH to be safe from botulism risk. Most properly fermented sauces naturally reach 3.5-4.0, but always verify before storing unrefrigerated.