How to Transplant Pepper Seedlings
Transplant pepper seedlings the right way. We cover hardening off, soil prep, spacing, watering, and the signs your seedlings are ready to move outside.
When Are Pepper Seedlings Ready to Transplant?
Timing is the single biggest factor in transplant success. Move seedlings too early and a cold snap can set them back weeks; wait too long and they become root-bound, stunted, and slow to recover.
The clearest signal is true leaf count — seedlings should have at least 4-6 true leaves before they go anywhere near the garden. The first two leaves (cotyledons) don't count; true leaves are the ones that look like actual pepper foliage.
Soil temperature matters just as much as air temperature. Peppers stall below 60°F soil temp and thrive between 65-75°F. A cheap soil thermometer is worth every penny here.
Most growers start seeds indoors 8-10 weeks before the last frost date. If you started on schedule and hardened off properly, your transplant window typically falls 1-2 weeks after that last frost date when nights consistently stay above 50°F.
Varieties like the sweet, thick-walled pimento and mild, round cherry pepper are forgiving of slightly cooler conditions compared to superhots. If you're growing something like the intensely fruity 7-Pot Yellow, give it every advantage — wait for genuinely warm soil.
Hardening Off: The Step Most People Skip
Hardening off is the gradual acclimatization process that prepares indoor-grown seedlings for outdoor conditions — sun intensity, wind, temperature swings, and lower humidity. Skip it and you'll watch healthy seedlings wilt, bleach, or drop leaves within days of transplanting.
Start 7-14 days before your planned transplant date. The process is straightforward but requires consistency.
- Day 1-2: Place seedlings outside in a shaded, wind-protected spot for 1-2 hours, then bring them back in.
- Day 3-4: Increase outdoor time to 3-4 hours. Introduce indirect morning sun.
- Day 5-7: Move to 5-6 hours outside with some direct sun exposure, still avoiding harsh midday light.
- Day 8-10: Leave them out most of the day, including direct sun. Bring in only if temps drop below 50°F at night.
- Day 11-14: Seedlings can stay outside overnight if conditions are right. They're ready to transplant.
Watch for leaf curl or bleaching — signs you're moving too fast. Pull back a day or two and try again. Rushing hardening off is one of the most common transplant mistakes.
Wind is underestimated as a stressor. Even a gentle breeze pulls moisture from leaves faster than roots can replace it. A simple windbreak made from cardboard or row cover buys your seedlings time to adjust.
Soil Preparation Before Planting
Peppers are heavy feeders that reward good soil preparation. The work you do before transplanting pays dividends for the entire season.
Aim for a loamy, well-draining mix with a pH between 6.0 and 6.8. Below 6.0, nutrient uptake suffers even if the nutrients are present. A basic soil test from your county extension office costs a few dollars and removes the guesswork.
Work 2-4 inches of compost into the top 12 inches of soil. Peppers develop deep root systems, so shallow amendments don't help much. For container growing, a premium potting mix with added perlite (roughly 20-30% by volume) provides the drainage peppers need.
Avoid high-nitrogen fertilizers at transplant time. They push leafy growth at the expense of root establishment and fruiting. A balanced 10-10-10 slow-release fertilizer or a phosphorus-heavy starter fertilizer encourages the root development that actually matters right now.
If you're growing the Nagabon's extreme super-hot heat or other super-hot tier varieties, rich soil and excellent drainage are non-negotiable — these peppers evolved in conditions that reward good drainage above almost everything else.
Spacing: How Far Apart Do Pepper Plants Need to Be?
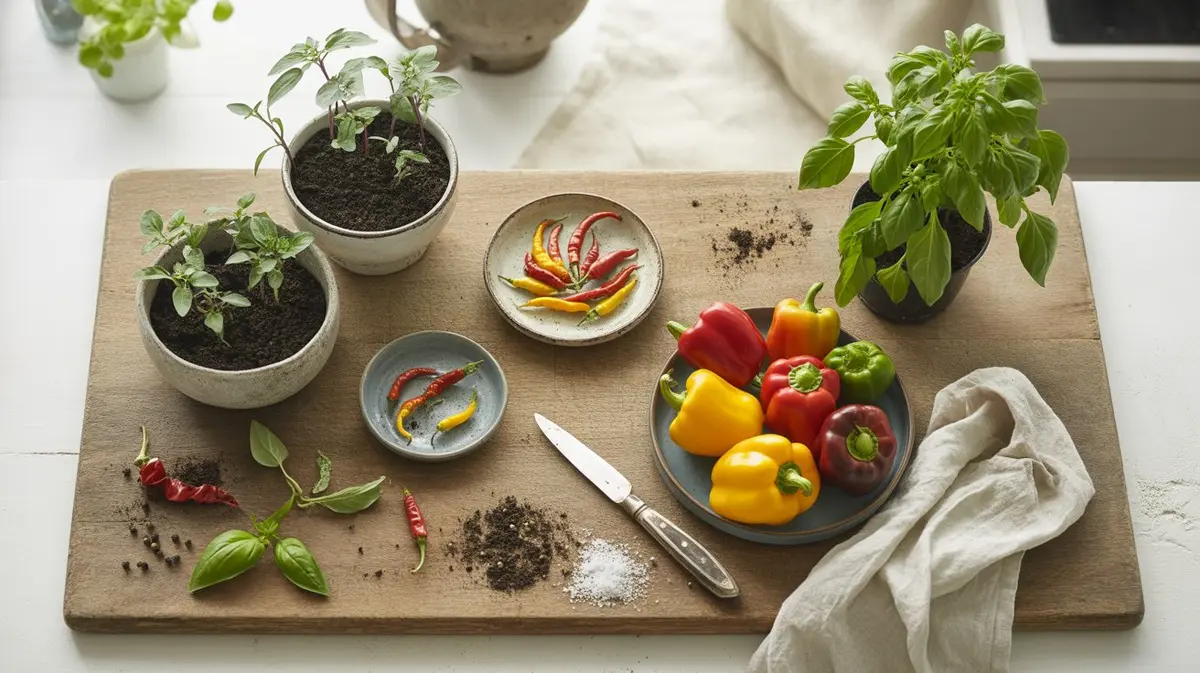
Spacing determines airflow, light penetration, and ultimately yield. Crowd peppers and you create humid microclimates that invite fungal disease; space them too far and you're wasting real estate.
General spacing guidelines by plant type:
- Compact/dwarf varieties (many ornamentals, cherry types): 12-15 inches apart
- Medium varieties (most bells, poblanos, jalapeños): 18-24 inches apart
- Large or sprawling varieties (many superhots, some heirlooms): 24-36 inches apart
- Row spacing: 30-36 inches between rows regardless of variety
Container growers should size up more than they think necessary. A 5-gallon container is the practical minimum for most pepper varieties; 7-10 gallon containers produce noticeably better yields. One plant per container is the rule.
The Teja chili's compact, prolific fruiting habit fits well at the tighter end of spacing. Compare that to something like the 7-Pot White's massive, sprawling plant structure — those need the full 30-36 inches to perform well.
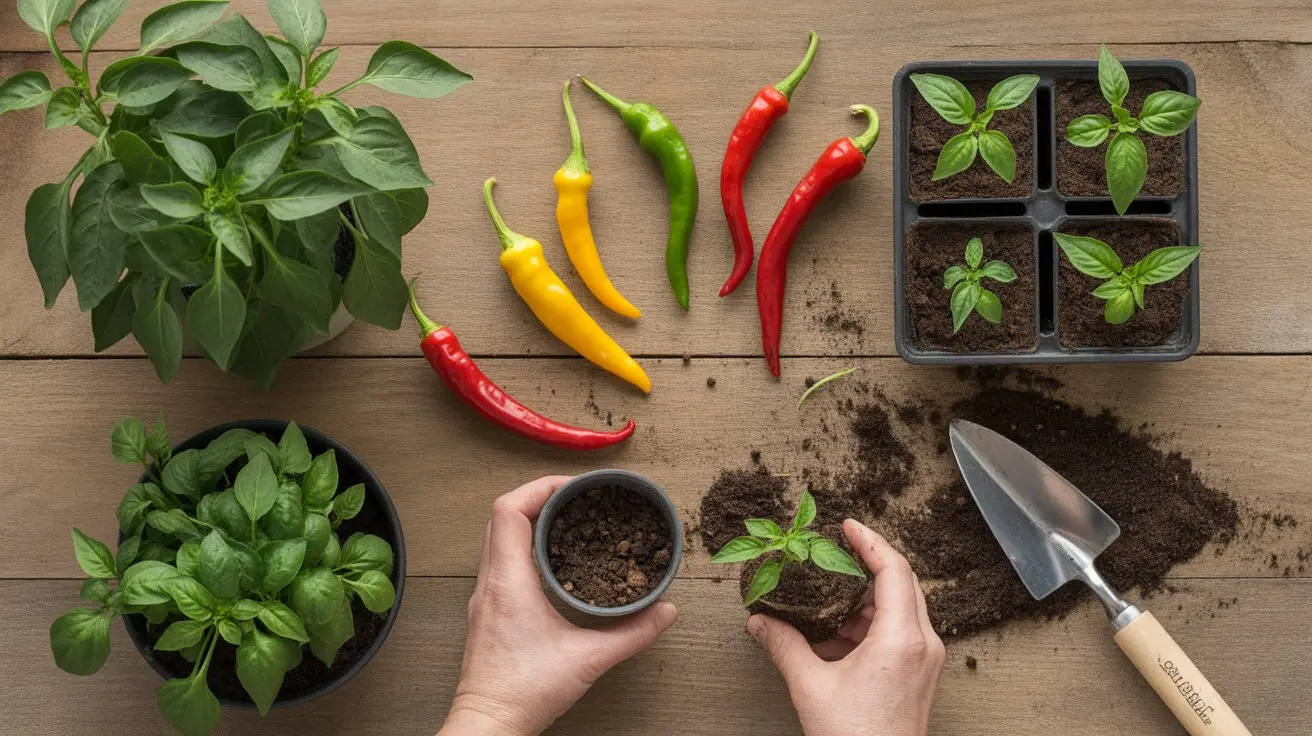
The Transplanting Process Step by Step
Transplanting at the right time of day makes a real difference. Early morning or late afternoon are ideal — midday sun and heat stress a plant that's already dealing with root disturbance.
- Water seedlings thoroughly 1-2 hours before transplanting. Moist root balls hold together and experience less shock than dry ones.
- Dig your holes slightly deeper and wider than the root ball. Unlike tomatoes, peppers don't benefit from deep planting — keep the stem at or just slightly below the original soil line.
- Gently remove the seedling from its cell or pot. If roots are circling the bottom, loosen them gently with your fingers before planting.
- Set the plant in the hole and backfill with native soil mixed with a small amount of compost. Firm gently around the base — no air pockets, but don't compact.
- Water in immediately with a diluted starter fertilizer solution (follow label rates, or use half-strength). This settles the soil and gets nutrients to the root zone fast.
- Apply 2-3 inches of mulch around (not against) the stem. Mulch moderates soil temperature and retains moisture through the critical establishment period.
If you're transplanting multiple varieties in the same bed, group mild-heat varieties together and keep your hotter types clearly marked. Cross-pollination won't affect this year's fruit, but it matters if you're saving seeds.
Watering After Transplant
The first two weeks after transplanting are when watering decisions matter most. Roots are shallow and haven't yet spread into surrounding soil, so the plant depends entirely on what you provide.
Water deeply immediately after planting, then check soil moisture daily. The goal is consistently moist but never waterlogged conditions. Stick your finger 2 inches into the soil — if it's dry at that depth, water. If it's still moist, wait.
Overhead watering increases disease risk by wetting foliage. A soaker hose or drip system delivers water directly to the root zone and keeps leaves dry. If you're hand-watering, aim at the base of the plant.
Once plants are established (typically 2-3 weeks after transplanting), you can shift to a deep, less-frequent watering schedule. This encourages roots to grow deeper in search of moisture, which creates more drought-resilient plants.
Signs of overwatering: yellowing lower leaves, soft stems, soggy soil that doesn't dry out between waterings. Signs of underwatering: wilting during cool parts of the day, dry cracked soil, leaf curl. Both conditions stress plants during the most vulnerable growth phase.
Protecting Transplants from Setbacks
Even well-hardened seedlings face threats in their first weeks outside. Having a plan for common setbacks saves plants that would otherwise be lost.
Late frost: Keep row cover or old bedsheets ready. A single night below 32°F can kill unprotected pepper transplants. Check forecasts obsessively for the first two weeks.
Aphids: They show up fast on new growth. A strong spray of water knocks most off; insecticidal soap handles heavier infestations without harming the plant.
Wind damage: Newly transplanted seedlings haven't developed the stem strength that comes from outdoor exposure. Temporary stakes or cages provide support until plants establish.
For a complete picture of getting peppers from seed to garden, the full seed-starting and growing guide covers variety selection, indoor setup, and season extension techniques that complement what's covered here.
Fertilizing Through the Season
Transplant fertilization gets roots established. Season-long fertilization determines yield. The two phases require different approaches.
During the vegetative phase (first 4-6 weeks after transplanting), a balanced fertilizer with equal NPK ratios supports steady growth. Once flower buds appear, shift to a lower-nitrogen, higher-phosphorus and potassium formula. Too much nitrogen at flowering pushes leaves at the expense of fruit set.
Calcium deficiency shows up as blossom end rot — dark, sunken patches on the bottom of fruit. It's usually a watering consistency issue rather than a true calcium shortage; irregular watering prevents calcium uptake even when it's present in the soil. Consistent moisture is the fix.
Liquid fertilizers work faster but need more frequent application (every 1-2 weeks). Slow-release granular formulas are more forgiving and work well for gardeners who don't want to track a feeding schedule closely.
What to Expect at Harvest
Most pepper varieties reach harvest 60-90 days after transplanting, though superhots and some large-fruited varieties can take 100-120 days. Patience is particularly important with varieties like the fruity, scorching 7-Pot Yellow — rushing the harvest means missing peak flavor and heat development.
All peppers start green and develop their final color as they ripen. Red, orange, yellow, and chocolate-colored peppers are simply ripe versions of what started green. Flavor deepens and sweetness increases with full ripening; heat in hot varieties also peaks at full color.
Use scissors or pruning shears rather than pulling peppers off by hand. Yanking fruit can break branches or uproot plants that haven't fully anchored. Cut stems about a half-inch above the fruit.
Regular harvesting encourages continued production. A plant left loaded with ripe fruit signals to itself that reproduction is complete and slows new flower production. Pick frequently and the plant keeps producing through the season.
Varieties at the hot-tier intensity level like the Teja chili's bright, fiery profile reward patience through the full color change — the flavor shift from green to red is dramatic. Medium-heat varieties are more flexible; they're good at multiple stages.
Common Transplanting Mistakes and How to Avoid Them
Most transplant failures trace back to a handful of predictable errors. Knowing them in advance is most of the battle.
- Transplanting too early: Cold soil shocks roots and stalls growth for weeks. Wait for consistent 60°F+ soil temperatures.
- Skipping hardening off: Indoor-grown plants cannot handle direct sun immediately. The process is non-negotiable.
- Planting too deep: Unlike tomatoes, peppers don't form adventitious roots along buried stems. Plant at or slightly below the original soil line.
- Overwatering in the first week: The instinct to water frequently is understandable but damaging. Deep, less-frequent watering is better even for new transplants.
- Skipping mulch: Mulch regulates soil temperature, retains moisture, and suppresses weeds. Two inches around each plant makes a measurable difference.
- Fertilizing with high nitrogen at transplant: This pushes leafy growth when root establishment should be the priority. Use a phosphorus-forward starter formula instead.
The difference between a struggling transplant and a thriving one usually isn't variety or luck — it's the handful of decisions made in the two weeks before and after moving day. Get those right and peppers are genuinely low-maintenance for the rest of the season.
Frequently Asked Questions
-
Look for at least 4-6 true leaves and soil temperatures consistently above 60°F. Nighttime air temperatures should stay above 50°F — peppers stall or die if exposed to prolonged cold after transplanting.
-
Technically yes, but expect significant setback — leaves will bleach, curl, or drop from sun and wind stress. Even a rushed 5-day hardening schedule is far better than none at all.
-
Plant peppers at or just slightly below their original soil line. Unlike tomatoes, peppers do not develop beneficial roots along buried stems, so deep planting offers no advantage and can cause stem rot.
-
Check soil moisture daily and water when the top 2 inches feel dry. Deep, infrequent watering is better than light daily watering — it encourages roots to grow downward rather than staying shallow.
-
Wilting after transplant is often transplant shock rather than