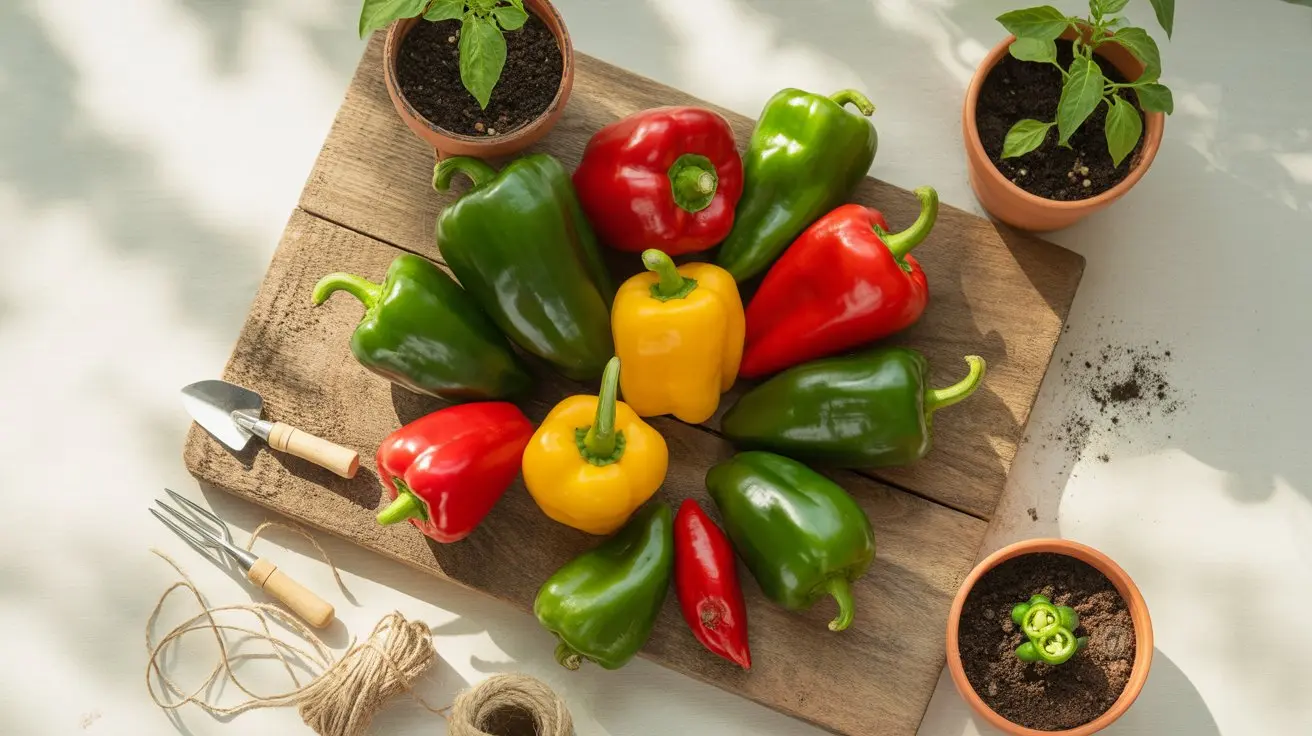
Easiest Peppers to Grow for Beginners
The 12 easiest pepper varieties for beginner gardeners. Detailed guide with expert tips and practical advice.
The Hardest Part Nobody Warns You About
Temperature consistency during fruiting — not germination — is where most beginners lose their first crop. Peppers drop flowers the moment night temperatures swing below 55°F or daytime heat spikes above 95°F. Get that window right, and almost everything else is forgiving.
The good news: the varieties below were chosen specifically because they tolerate beginner mistakes in soil, watering, and spacing better than most. Some are mild, some run hot, but all of them reward patience without demanding perfection.
What Makes a Pepper "Beginner-Friendly"
Three factors separate easy-growing peppers from finicky ones: disease resistance, short days-to-maturity, and tolerance for irregular watering. Peppers that check all three boxes rarely disappoint in a first garden.
Most beginner-friendly varieties fall under the Capsicum annuum species bracket, which includes bell peppers, jalapeños, banana peppers, and many Southwestern varieties. This species handles a wider temperature range than the C. chinense heat tier, which covers habaneros and superhots that genuinely need coddling.
Days to maturity matters more than most guides admit. A pepper that takes 90 days from transplant gives you a much narrower harvest window than one that's ready in 65 days — especially in short-season climates.
Mild Picks That Almost Grow Themselves
If heat isn't your goal, these are the lowest-stress choices in any beginner garden.
Banana peppers are the classic starter plant. They set fruit early, tolerate inconsistent watering, and produce prolifically even in part shade. Expect 65-70 days to harvest from transplant.
For something with genuine Caribbean character at zero heat, the sweet aromatic flavor of Ají Dulce is worth growing. It looks like a mini habanero but carries almost no capsaicin, making it a perfect introduction to the chinense species without the fire risk. Harvest runs around 70-80 days from transplant.
Similarly, the floral, zero-heat Trinidad Perfume gives you that distinctive chinense fragrance — used heavily in Caribbean cooking — without the burn that usually accompanies it. Both Ají Dulce and Trinidad Perfume prove you can grow exotic-looking peppers without advanced skill.
Medium Heat: Where Most Beginners Land
Jalapeños get all the press, but there are better beginner peppers in the medium SHU intensity range.
Hungarian Wax peppers are underrated in beginner gardens. Their waxy skin and mild-to-medium bite — ranging from 1,000 to 15,000 SHU depending on harvest timing — makes them versatile in the kitchen. Pick them yellow for mild heat, let them turn red for more. Plants are compact, disease-resistant, and heavy producers even in poor soil.
Poblanos deserve a spot on every beginner list. They're drought-tolerant once established, rarely develop pest problems, and the fruit is large enough to stuff. At 1,000-2,000 SHU, they're approachable for anyone who finds jalapeños too aggressive.
The earthy, roasting character of New Mexico Chiles fits the same mold — forgiving plants with thick walls ideal for roasting and drying. These are the backbone of Southwestern cuisine, and they handle dry, hot summers better than almost any other variety. Days to maturity runs 75-80 days.
Hot Varieties That Don't Require Expert-Level Care
Crossing into the hot SHU territory doesn't necessarily mean harder growing. A few varieties in this range are actually more resilient than their medium-heat counterparts.
Cayenne peppers are among the most productive plants per square foot in any garden. They tolerate poor soil, irregular watering, and full sun without complaint. At 30,000-50,000 SHU, they're roughly three to five times hotter than a serrano, but the plants themselves ask for almost nothing.
The intense cayenne-family heat of Charleston Hot runs slightly hotter — up to 70,000 SHU — and was bred specifically for disease resistance in humid climates. If your garden struggles with bacterial spot or phytophthora, this is the hot pepper to try first.
Thai peppers, while small, are nearly bulletproof plants. They thrive in containers, tolerate heat waves, and produce hundreds of pods per season. Expect 70-80 days from transplant and plan to dry the surplus.
Timing, Spacing, and Soil Basics
Start seeds indoors 8-10 weeks before your last frost date. Pepper seeds need soil temperatures of 80-85°F to germinate reliably — a heat mat under the tray isn't optional if your house runs cool.
Transplant outdoors when nighttime temperatures stay consistently above 55°F. Rushing this step causes more first-year failures than any other mistake. For a complete germination and transplant method, the full process is worth reviewing before you start.
Spacing depends on variety size. Compact plants like Hungarian Wax and banana peppers do fine at 12-15 inches apart. Larger plants — poblanos, New Mexico Chiles, bell peppers — need 18-24 inches to allow airflow and reduce fungal pressure.
Soil should drain well. Peppers hate wet feet. A mix of native soil, compost, and perlite (roughly 60/30/10) works well in raised beds. In-ground planting benefits from adding organic matter the fall before you plant.
Watering Without Overcomplicating It
Deep, infrequent watering beats daily shallow watering every time. Aim for 1-2 inches per week, delivered in two sessions rather than seven. Let the top inch of soil dry between waterings — peppers are more drought-tolerant than tomatoes once established.
Inconsistent moisture causes blossom end rot and cracking, two of the most common beginner problems. A 2-3 inch layer of mulch around the base dramatically reduces moisture swings without any extra effort.
Container growers need to water more frequently — sometimes daily in summer heat. Choose containers at least 5 gallons for standard varieties, 3 gallons minimum for compact types like Thai peppers or Ají Dulce.
Fertilizing Without Burning Your Plants
Peppers are moderate feeders. Too much nitrogen early on pushes leafy growth at the expense of fruit set — a common beginner mistake when using high-N vegetable fertilizers.
At transplant, work a balanced fertilizer (10-10-10) into the soil. Once flowering begins, switch to a lower-nitrogen, higher-phosphorus formula to encourage fruit development. Kelp meal or fish emulsion works well as a mid-season supplement.
Calcium deficiency shows up as blossom end rot, especially in container plants where calcium leaches out with frequent watering. A foliar spray of calcium chloride solution (1 tablespoon per gallon) addresses this quickly.
Harvest Timing and What to Watch For
Most peppers can be harvested at any color stage, but flavor and heat change as they ripen. Green jalapeños taste grassy and slightly less hot than red ones. Cayennes turn from green to red and develop more complex flavor at full ripeness.
For varieties like the smoky, dried-ripe character of Morita-style peppers — which are red-ripe jalapeños smoked to a chipotle finish — full red maturity is the whole point. Harvesting green defeats the purpose.
Use scissors or pruning shears rather than pulling pods by hand. Pulling can snap branches on heavily loaded plants. Harvest frequently — leaving ripe fruit on the plant signals it to slow production.
The extra-hot SHU range is worth understanding if you grow cayenne or Charleston Hot, since both can surprise first-time growers with their actual heat output at full ripeness compared to what they expected at harvest.
Common Beginner Mistakes (And Fast Fixes)
- Planting too early: Cold soil stalls root development. Wait until soil temperature reaches 65°F minimum.
- Overwatering seedlings: Damping off kills more pepper starts than any pest. Water only when the top of the mix feels dry.
- Skipping hardening off: Move transplants outside for 7-10 days gradually before leaving them out full-time.
- Ignoring aphids early: A strong spray of water knocks colonies off before they establish. Check the undersides of leaves weekly.
- Harvesting too late: Overripe peppers left on the plant rot quickly and attract pests. Pick at peak color.
Choosing Your First Variety
If you want zero heat: start with the sweet, fragrant profile of Ají Dulce or banana peppers. Both are nearly impossible to fail with.
If you want mild-to-medium heat with high yields: the waxy, variable-heat Hungarian Wax is the most forgiving pick in that range. It tolerates soil variation and irregular watering better than jalapeños.
For dry or hot climates, the thick-walled roasting character of New Mexico Chiles handles drought stress without dropping fruit — something most beginners in arid zones struggle with in their first season.
Hot pepper lovers who want a reliable first crop should try cayenne before chasing habaneros or anything in the super-hot SHU category. Cayennes are productive, disease-resistant, and teach you the basics of pepper growing without the extended season demands of chinense varieties.
Whatever you choose, grow two or three varieties your first season rather than one. You'll learn which conditions your garden favors — and which peppers thrive in them — faster than any guide can tell you.
Frequently Asked Questions
-
Banana peppers and Hungarian Wax are the most forgiving choices for first-time growers. Both tolerate poor soil, irregular watering, and produce heavily without needing perfect conditions.
-
Most beginner-friendly varieties produce harvestable fruit in 65-80 days from transplant. Compact varieties like banana peppers tend to be on the faster end of that range.
-
Yes — peppers do well in containers as long as the pot is at least 5 gallons for standard varieties. Container plants need more frequent watering since they dry out faster than in-ground plants.
-
Flower drop is almost always a temperature problem. Nights below 55°F or daytime highs above 95°F cause peppers to abort flowers as a stress response. Consistent temperatures in between solve this.
-
Peppers are moderate feeders — too much nitrogen causes leafy growth at the expense of fruit. Use a balanced fertilizer at planting, then switch to a lower-nitrogen formula once flowering begins.