Roasted Hatch Chiles
Roast Hatch chiles on the grill or in the oven for smoky, peelable perfection. Step-by-step with freezing and storage tips. Find your perfect heat level.
What Makes Hatch Chiles Worth Roasting
Hatch chiles come from the Hatch Valley of New Mexico, a narrow stretch of the Rio Grande where the combination of high altitude, intense sun, and alkaline soil produces a pepper unlike anything grown elsewhere. The season runs from late July through September, and for those few weeks, roasting them is practically a regional ritual.
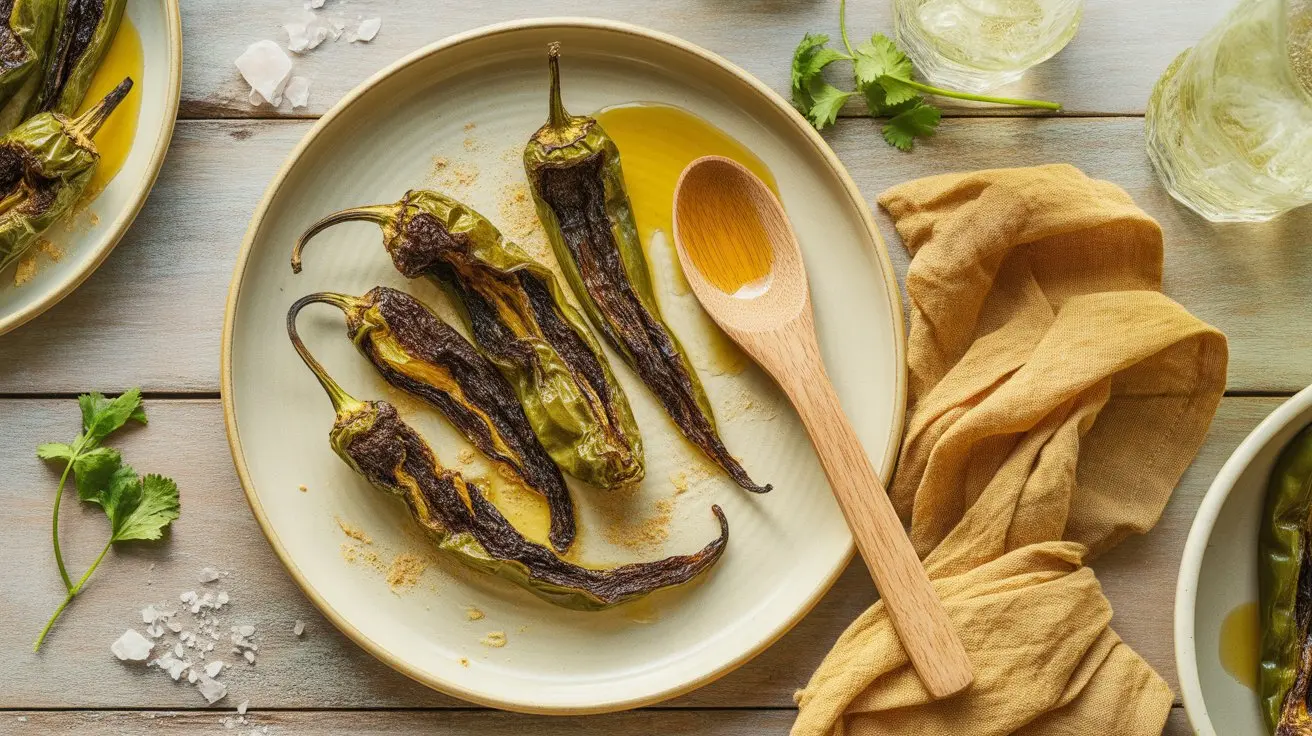
Raw, they taste grassy and mildly bitter. Roasted, the skin blisters and chars, steam loosens the outer layer, and the flesh underneath turns silky with a deep, smoky sweetness that no amount of canned substitute can replicate.
Hatch chiles belong to Capsicum annuum, the same species as bell peppers and poblanos, though their character is entirely their own. Heat ranges vary by variety - mild Sandia types sit around 500-1,000 SHU, while hot varieties can push past 8,000 SHU, putting them solidly in the medium heat bracket at the upper end. For context, a serrano typically runs 10,000-23,000 SHU, so even the hottest Hatch varieties are noticeably milder.
This guide covers both oven and grill methods, plus everything you need to know about peeling, freezing, and getting the most out of a short season.
Equipment
- Gas or charcoal grill, OR oven broiler with rack
- Tongs
- Large bowl
- Plastic wrap or a tight-fitting lid
- Paper towels or a clean kitchen towel
- Freezer bags (if storing)
Technique Tips
Do not skip the steam. Fifteen minutes feels like a long time when you are hungry, but pulling the plastic wrap too early means fighting with the skin instead of sliding it off. The char itself is not the point - it is the steam that does the peeling work.
Keep the charred bits. Some cooks rinse peeled chiles under running water, which removes the skin easily but washes away roasted oils and smoky flavor. Peel by hand and accept that your fingers will be stained for a few hours.
Wear gloves if roasting hot varieties. The capsaicin in hotter Hatch chiles - the same compound behind the burn chemistry that activates TRPV1 receptors - transfers readily to skin and does not wash off with cold water. Soap and warm water, or a dairy rinse, are your options after the fact.
For large batches, a rotating chile roaster (the wire drum setup common at New Mexico roadside stands) handles 10-40 pounds at once. If you are buying a full bushel to freeze for the year, renting or borrowing one is worth it.
The seeds are edible and add texture. Remove them if you want a cleaner presentation or are cooking for people sensitive to heat - most of the capsaicin concentration sits in the placenta near the seeds, not the flesh itself.
Variations
- Red Hatch chiles: Fully ripened Hatch chiles turn red in late September. Roast using the same method - the flavor is sweeter and earthier, with slightly more heat. Red Hatch dried and ground becomes New Mexico red chile powder, the backbone of the state's red sauce.
- Stuffed roasted Hatch: After peeling, leave the stem intact and make a single lengthwise slit. Remove seeds, stuff with cheese or a meat mixture, and bake at 375°F for 20 minutes. The chile is already cooked - you are just melting the filling.
- Frozen roasted Hatch: Roast, peel, and cool completely. Lay flat in a single layer on a parchment-lined sheet pan and freeze for 2 hours. Transfer to freezer bags in portions (4-6 chiles per bag works well for most recipes). Frozen roasted Hatch chiles keep for 12 months with minimal quality loss.
- Roasted Hatch chile oil: Pack peeled chiles into a jar with olive oil, a smashed garlic clove, and a few peppercorns. Refrigerate and use within 1 week. Do not store at room temperature - botulism risk with oil-packed vegetables is real.
- Mild substitution: Outside of Hatch season, Anaheim peppers with their mild grassy heat are the closest widely available substitute. Poblanos offer a different flavor profile but roast beautifully using the same technique - their thick walls and mild SHU range make them forgiving for beginners.
What to Do With Roasted Hatch Chiles
The most direct use is chopped into green chile stew - pork, potatoes, onion, garlic, and roasted Hatch chiles simmered until the broth turns almost silky. New Mexico green chile cheeseburgers layer a whole roasted chile over the patty. Breakfast burritos, enchilada sauce, chile con queso, and scrambled eggs all work.
For a fast weeknight application, stir roughly chopped roasted chiles into cream cheese or sour cream with a little lime juice and salt. It becomes a dip, a taco topping, or a sauce for grilled chicken in about 90 seconds.
Comparing Hatch chiles to other roasting peppers: the poblano's earthy, chocolate-tinged flavor is richer but less bright. The Anaheim is milder and thinner-walled. If you want something with more fire, the serrano's sharper, grassier bite roasts well too, though the smaller size makes peeling impractical - just char and chop.
Buying and Seasonal Storage
Peak season is late July through early September, when fresh Hatch chiles appear at farmers markets, specialty grocers, and many large supermarkets in the Southwest. Many stores in New Mexico, Arizona, Colorado, and Texas host live roasting events during August - the smell of a commercial roaster going at a parking lot is one of the more reliable signals that summer is ending.
Outside the Southwest, Melissa's Produce and several online vendors ship fresh Hatch chiles during the season. Prices typically run $2-4 per pound fresh, higher for shipped orders. Canned Hatch chiles are available year-round and are a reasonable pantry backup, though the texture and smoke are absent.
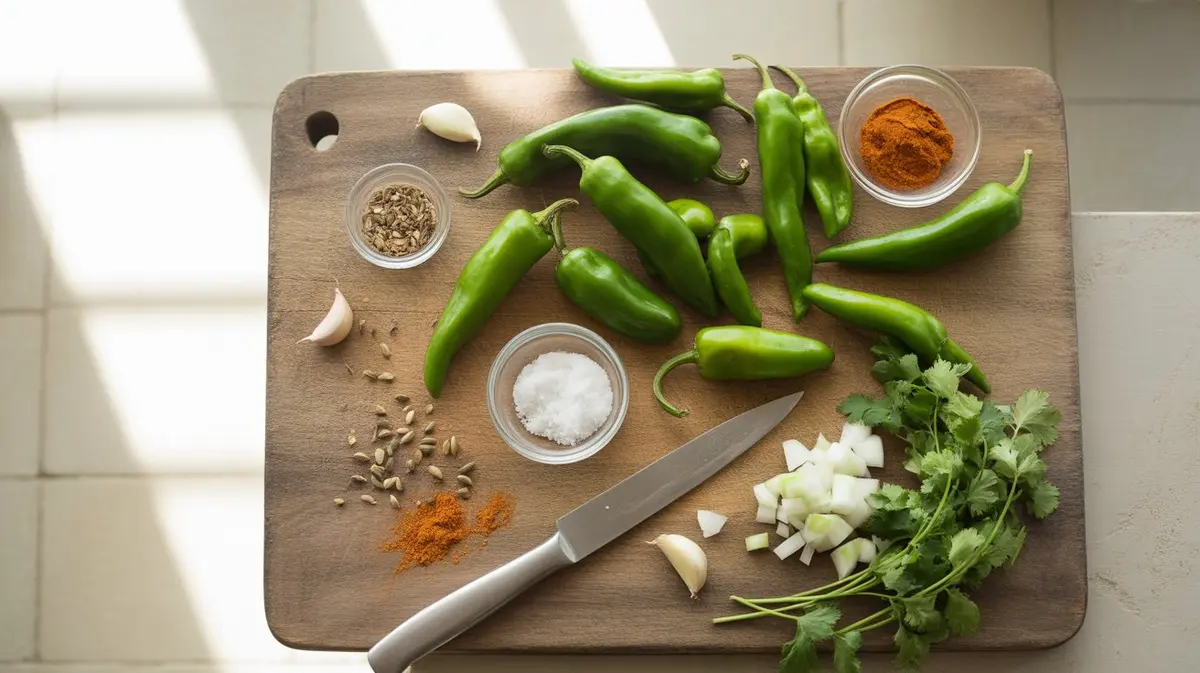
When selecting fresh chiles, look for firm flesh with no soft spots or wrinkled skin. Color should be a deep, waxy green - pale or yellowing chiles are past their prime. Mild varieties tend to be larger and more uniform; hotter varieties are often smaller and more irregular in shape.
For year-round supply, roast and freeze the entire season haul. A 40-pound bushel (common purchase size at roasting events) yields roughly 30 pounds of peeled, frozen chiles after moisture loss and waste - enough to last a household through winter.
Storage After Roasting
Refrigerator: Store peeled roasted chiles in an airtight container for up to 5 days. A light drizzle of olive oil over the top helps prevent surface drying.
Freezer: Properly frozen roasted Hatch chiles keep for 12 months. Portion before freezing - thawed chiles do not refreeze well. Label bags with the heat level and date, especially if you roasted multiple varieties.
Do not can at home without a pressure canner. Chiles are a low-acid food and require pressure canning to be safe. Water bath canning is not sufficient and creates botulism risk.
Chef's Tip: The Resting Period
Patience is an ingredient. After mixing, let the dish rest for 10–15 minutes before serving. This allows the flavours to meld and the seasoning to fully penetrate. If making ahead, refrigerate and bring to room temperature before serving.
Shopping List
-
2 pounds fresh Hatch green chiles (mildmedium, or hot variety)
-
1 tablespoon neutral oil (for oven method only)
-
1/2 teaspoon kosher salt (optional)
Full Recipe Instructions
Heat a gas…
Heat a gas grill to high (500-550°F) or preheat oven broiler with rack 4-6 inches from element for at least 10 minutes.
Rinse chiles and…
Rinse chiles and pat completely dry. For oven method, toss with 1 tablespoon neutral oil.
Arrange chiles in…
Arrange chiles in a single layer on grill grates or foil-lined baking sheet. Do not crowd.
Grill 3-4 minutes…
Grill 3-4 minutes per side, turning with tongs, until skin is blackened and blistered on all sides (about 60-70% char coverage). For broiler, cook 5-7 minutes per side.
Transfer immediately to…
Transfer immediately to a large bowl and cover tightly with plastic wrap. Steam for 10-15 minutes (broiler method: 15 minutes).
Peel charred skin…
Peel charred skin away by hand, working over the bowl to catch juices. Discard skin.
Stem and seed…
Stem and seed as desired. Use immediately, refrigerate in an airtight container up to 5 days, or freeze for up to 12 months.
Frequently Asked Questions
-
The charred skin is bitter and papery, so peeling is strongly recommended for most recipes. Steaming for a full 15 minutes after roasting makes the skin slip off easily without rinsing.
-
Yes - an oven broiler set to high produces excellent results when the rack is positioned 4-6 inches from the element. A gas stovetop burner also works well for small batches of 1-4 chiles.
-
Heat varies by variety, ranging from about 500 SHU for mild types to roughly 8,000 SHU for hot varieties. That puts them well below a serrano (10,000-23,000 SHU) but well above a bell pepper.
-
Properly sealed roasted Hatch chiles maintain good quality for up to 12 months in the freezer.
More Recipes
View allFresh Salsa Recipe
Restaurant-quality fresh salsa in 10 minutes. Proper tomato prep, right jalapeño amount, and the secret to balanced flavor. Find your perfect heat level.
Jalapeno Poppers Recipe
Classic cream cheese stuffed jalapeño poppers that are crispy outside, creamy inside. Find your perfect heat level.
Pickled Jalapenos Recipe
Two methods: 10-minute quick pickle and proper fermented. Both stay crispy. Find your perfect heat level.
Stuffed Peppers Recipe
Classic stuffed peppers with rice and meat, plus vegetarian and Mexican variations. Covers bell peppers, poblanos, and which peppers stuff best.