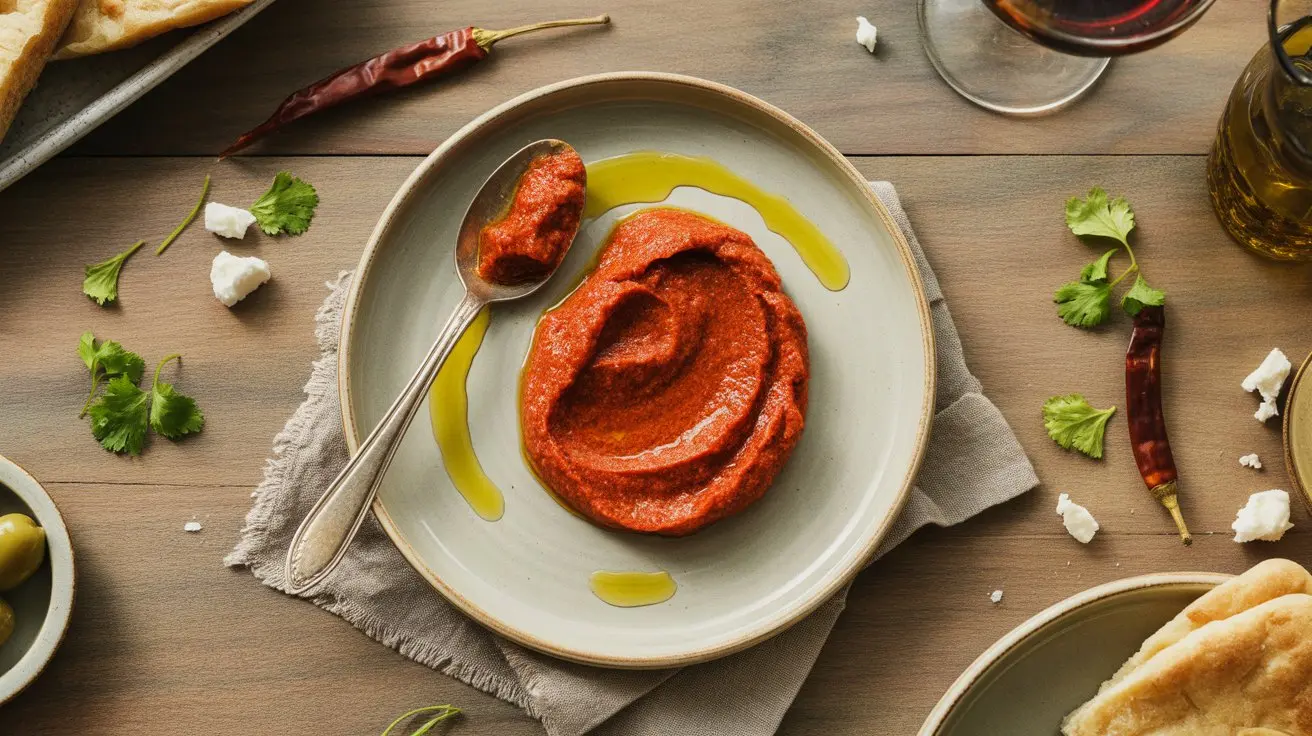
Harissa Paste
Homemade harissa paste with dried guajillo and ancho chiles, roasted red peppers, and warm spices. Find your perfect heat level.
What Is Harissa?
Harissa is a North African chili paste built on dried and roasted peppers, warm spices, and olive oil — the kind of condiment that makes everything it touches more interesting. The heat lands slow and spreading, not sharp, with earthy depth underneath it.
Tunisia claims it most loudly, but versions of this paste show up across Morocco, Libya, and Algeria, each with its own spice fingerprint. At home, you can tune it exactly to your preference.
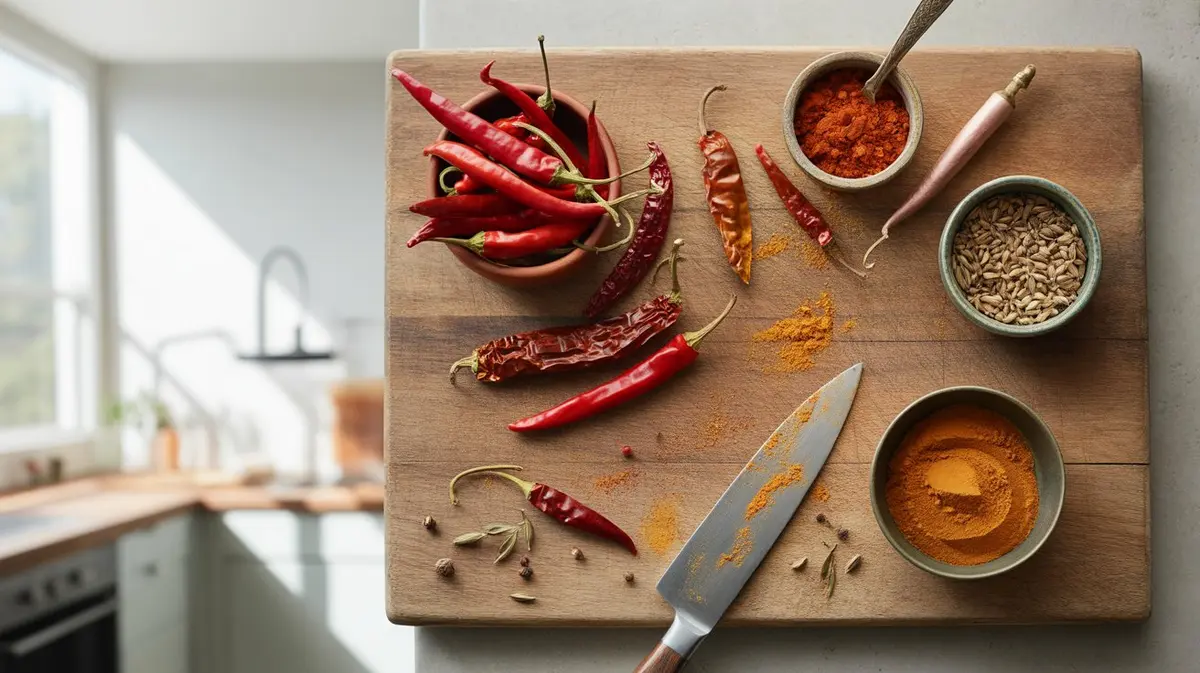
This recipe uses dried guajillo and ancho chiles alongside roasted red bell peppers for body, with caraway, coriander, and cumin giving it that signature warmth. The result is richer and more complex than anything from a tube.
Instructions
- Toast the dried chiles. Heat a dry skillet over medium heat. Press each chile flat against the pan for 15-20 seconds per side until fragrant and slightly darkened. Don't let them blacken — bitter is the enemy here.
- Rehydrate the chiles. Transfer toasted chiles to a bowl and cover with boiling water. Place a small plate on top to keep them submerged. Soak for 20-25 minutes until completely pliable.
- Roast the bell peppers. Place whole peppers directly over a gas flame or under a broiler set to high. Turn occasionally until charred on all sides, about 10-12 minutes. Transfer to a covered bowl and steam for 10 minutes, then peel, seed, and roughly chop.
- Toast the whole spices. In the same dry skillet, toast caraway, coriander, and cumin seeds over medium-low heat for 2-3 minutes, stirring constantly, until aromatic. Grind in a spice grinder or mortar and pestle.
- Drain and prep the chiles. Remove rehydrated chiles from soaking liquid. Reserve the liquid — you may need it for consistency. Roughly chop the chiles.
- Blend everything. Combine chiles, roasted peppers, garlic, ground spices, smoked paprika, cayenne, tomato paste, olive oil, lemon juice, and salt in a food processor. Blend until smooth, scraping down the sides as needed. Add reserved soaking liquid a tablespoon at a time if the paste is too thick.
- Taste and adjust. This is the most important step. Add more salt, lemon, cayenne, or a splash of soaking liquid until the balance feels right. The paste should be assertive — it will mellow slightly when cooked with other ingredients.
- Pack and store. Transfer to a clean jar. Smooth the surface and pour a thin layer of olive oil on top to seal. Refrigerate.
Technique Notes
The chile-toasting step is non-negotiable. Dry heat activates fat-soluble flavor compounds that water-soaking alone can't reach. Thirty seconds of attention here pays off in the final paste.
Keeping a tablespoon of the soaking liquid on hand gives you control over texture without diluting flavor — the liquid itself picks up color and a mild bitterness that actually belongs in the paste.
A food processor gives you a slightly textured paste with character. A high-speed blender produces something smoother and more uniform — both are correct, just different. Traditional versions made in a mortar have more body and a rougher feel that many cooks prefer.
The olive oil seal on top isn't decoration. It limits oxygen exposure and extends shelf life meaningfully. Refresh it each time you dip into the jar.
Heat Level and Customization
This base recipe lands in what most people would call a medium-intensity range — present enough to notice through a whole dish, mild enough to eat by the spoonful on flatbread. The guajillo and ancho combination contributes more flavor than fire.
For comparison: a fresh Fresno chile's clean, forward heat reads hotter than this paste will on most palates, even though the dried chiles technically carry more concentrated capsaicin by weight. Processing and blending with oil disperses the heat differently than biting into a fresh pepper.
To push it hotter, add 2-3 dried chiles de arbol during blending. These sit in a noticeably higher heat bracket and will shift the whole paste's character. Start with two and taste before adding more.
For a milder version, skip the cayenne entirely and use only one ancho. The paste will still have complexity — it just won't announce itself at the table.
Variations
- Smoked Harissa: Add 1-2 chipotle chiles in adobo to the blend. The smokiness doubles down on the paste's earthy qualities and works especially well with grilled meats.
- Rose Harissa: Stir in 1 tsp dried rose petals (food-grade) after blending. A Tunisian tradition — the floral note cuts through the heat in an unexpected way.
- Green Harissa: Swap dried red chiles for fresh green ones (serranos or jalapeños work well), add fresh cilantro and parsley, and reduce the warm spices by half. Completely different personality, same technique.
- Oil-Heavy Harissa: Increase olive oil to 5-6 tablespoons for a looser, more sauce-like consistency that works as a marinade or drizzle rather than a spread.
- Fermented Harissa: Salt the fresh peppers and let them ferment for 3-5 days before blending with the spices. The lactic acid adds tang and complexity that no amount of lemon juice can replicate.
How to Use Harissa
Harissa works at every stage of cooking — as a marinade, a cooking medium, a finishing sauce, or a straight condiment. The paste handles heat well without burning off its flavor, which makes it useful in ways that fresh herb sauces aren't.
Eggs: A spoonful stirred into scrambled eggs or spooned around a shakshuka base. The paste blooms in the hot oil before you add the eggs.
Roasted vegetables: Toss cauliflower, carrots, or chickpeas with harissa and olive oil before roasting at 425°F. The sugars in the paste caramelize against the high heat.
Grilled meats: Rub directly onto chicken thighs, lamb chops, or shrimp. Marinate for at least 30 minutes, up to overnight for larger cuts.
Pasta: Bloom a tablespoon in olive oil, add canned tomatoes, and you have a sauce in under 20 minutes. The DIY chili paste technique transfers directly to quick weeknight cooking.
Dips and spreads: Swirl into hummus, labneh, or Greek yogurt. The dairy cools the heat while the paste's flavor comes through clearly.
Pepper Background
Guajillo and ancho are both members of Capsicum annuum, the species that includes most of the world's familiar dried chiles. They originate from Mexico's dried chile tradition, where different drying methods and growing regions produce dramatically different flavor profiles from the same species.
Guajillo is a dried mirasol chile — thin-skinned, cranberry-red, with a flavor that reads tart and slightly fruity. Ancho is a dried poblano, wider and darker, with a mulato-like sweetness. Combining them gives harissa a flavor architecture that neither could build alone.
The spice combination — caraway especially — is what roots this recipe in North African rather than Mexican cooking. Caraway doesn't appear in mole or enchilada sauce, but it's fundamental to harissa's identity. That crossover of New World chiles into Old World spice traditions is what makes the paste taste like it belongs to both places and neither one.
Storage
Refrigerated with an olive oil seal, harissa keeps for 3-4 weeks. The flavor actually improves after a day or two as the spices meld.
For longer storage, freeze in 1-tablespoon portions using an ice cube tray. Transfer frozen cubes to a zip-lock bag and use within 3 months. Frozen harissa loses a little brightness but retains its heat and body — perfectly usable in cooked applications.
Don't store at room temperature after opening. The garlic and moisture content make it a food safety risk outside the refrigerator, regardless of the olive oil layer.
Buying vs. Making
Tube and jar harissa from the grocery store varies wildly. Some brands (particularly Tunisian imports) are genuinely good — concentrated, complex, worth keeping around. Many others are thin, underseasoned, or so vinegar-forward they read more like hot sauce than paste.
Making your own takes about 45 minutes active time and produces a paste that's noticeably more layered. If you're using it as a background ingredient in a braise, commercial paste works fine. If it's going on the table as a condiment, homemade is worth the effort.
Chef's Tip: The Resting Period
Patience is an ingredient. After mixing, let the dish rest for 10–15 minutes before serving. This allows the flavours to meld and the seasoning to fully penetrate. If making ahead, refrigerate and bring to room temperature before serving.
Shopping List
-
4 dried guajillo chilesstems and seeds removed
-
2 dried ancho chilesstems and seeds removed
-
2 large red bell peppersroasted and peeled
-
4 cloves garlicpeeled
-
1 tsp caraway seedstoasted
-
1 tsp coriander seedstoasted
-
1 tsp cumin seedstoasted
-
1/2 tsp smoked paprika
-
1/4 tsp cayenne pepper
-
2 tbsp tomato paste
-
3 tbsp extra-virgin olive oilplus more for sealing
-
1 tbsp lemon juice
-
1 tsp kosher salt
-
2-3 dried chiles de arbol (optionalfor extra heat)
Full Recipe Instructions
Toast dried guajillo…
Toast dried guajillo and ancho chiles in a dry skillet over medium heat, 15-20 seconds per side, until fragrant but not blackened.
Transfer toasted chiles…
Transfer toasted chiles to a bowl, cover with boiling water, and soak for 20-25 minutes until fully pliable.
Roast red bell…
Roast red bell peppers over a gas flame or under a high broiler, turning until charred on all sides, about 10-12 minutes. Steam in a covered bowl for 10 minutes, then peel, seed, and chop.
Toast caraway, coriander,…
Toast caraway, coriander, and cumin seeds in a dry skillet over medium-low heat for 2-3 minutes, stirring constantly. Grind in a spice grinder or mortar and pestle.
Drain rehydrated chiles,…
Drain rehydrated chiles, reserving soaking liquid. Roughly chop the chiles.
Combine chiles, roasted…
Combine chiles, roasted peppers, garlic, ground spices, smoked paprika, cayenne, tomato paste, olive oil, lemon juice, and salt in a food processor. Blend until smooth, adding reserved soaking liquid one tablespoon at a time if needed.
Taste and adjust…
Taste and adjust seasoning with salt, lemon juice, or cayenne as needed.
Transfer to a…
Transfer to a clean jar, smooth the surface, and pour a thin layer of olive oil on top to seal. Refrigerate.
Frequently Asked Questions
-
Fresh chiles will work but produce a different paste - brighter and less complex. Dried chiles have concentrated flavor compounds developed during the drying process that fresh peppers simply don't have. Roast fresh chiles first to add some depth.
-
Over-toasted dried chiles are almost always the cause. If the chiles blacken during the dry-toasting step, the bitter compounds in the skin dominate everything else. Toast lightly - fragrant and slightly darkened, never black.
-
Homemade harissa heat varies entirely based on your chile selection and how much cayenne or chile de arbol you add. Most store-bought harissa is formulated mild-to-medium for broad appeal, so homemade versions can easily run hotter or cooler depending on your build.
-
Yes - freeze in 1-tablespoon portions in an ice cube tray, then transfer to a freezer bag. It keeps well for up to 3 months. Texture is slightly softer after thawing but flavor holds up well in cooked dishes.
-
Tunisian harissa is typically hotter and simpler, built on dried chiles, garlic, and caraway with minimal additions. Moroccan versions often include more spices, sometimes preserved lemon, and tend to be milder and more complex in overall flavor.
More Recipes
View allFresh Salsa Recipe
Restaurant-quality fresh salsa in 10 minutes. Proper tomato prep, right jalapeño amount, and the secret to balanced flavor. Find your perfect heat level.
Jalapeno Poppers Recipe
Classic cream cheese stuffed jalapeño poppers that are crispy outside, creamy inside. Find your perfect heat level.
Pickled Jalapenos Recipe
Two methods: 10-minute quick pickle and proper fermented. Both stay crispy. Find your perfect heat level.
Stuffed Peppers Recipe
Classic stuffed peppers with rice and meat, plus vegetarian and Mexican variations. Covers bell peppers, poblanos, and which peppers stuff best.