How to Grow Poblano Peppers
Poblanos are easy to grow and perfect for stuffing. Planting, care, harvesting green vs dried (ancho), and storage. Find your perfect heat level.
What Makes Poblanos Worth Growing
Poblanos sit in a comfortable spot on the heat spectrum — 1,000 to 2,000 SHU — which puts them squarely in the mild end of the pepper world, well below a guajillo and about half the heat of a typical jalapeño.
That mild, earthy character makes them one of the most versatile peppers you can grow. Harvest them green for stuffing, or leave them on the plant until they turn deep red and dry them into anchos — two completely different ingredients from the same plant.
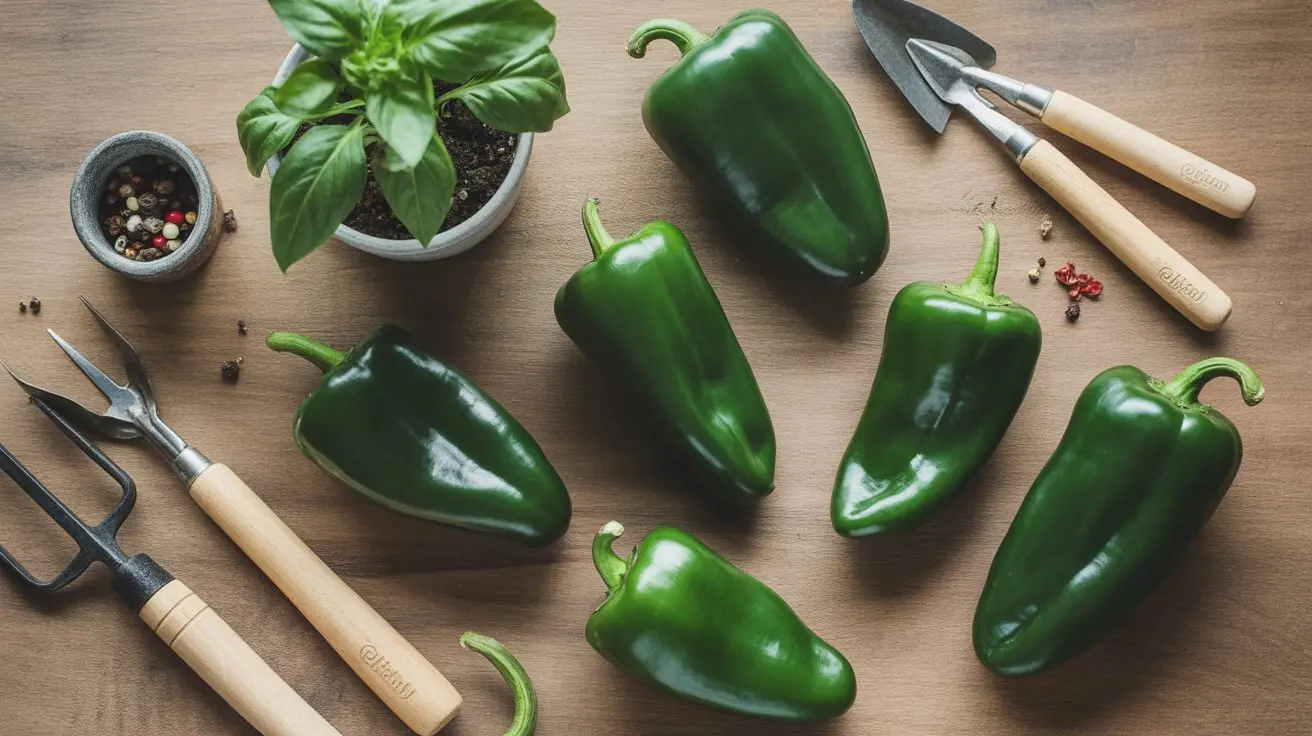
The poblano's thick-walled, heart-shaped pods are built for the kitchen. They hold their structure through roasting, stuffing, and long braises without falling apart, which is more than you can say for thinner-skinned varieties.
Timing: When to Start Seeds
Poblanos need a long growing season — roughly 65 to 80 days from transplant to first harvest. That means starting seeds indoors well before your last frost date.
In most of the U.S., that translates to starting seeds 8 to 10 weeks before your last expected frost. If your last frost is April 15, you're starting seeds in early to mid-February.
Germination itself takes 10 to 21 days at optimal soil temperatures. Unlike some of the extreme varieties — the kind of scorching super-hots that can take 4+ weeks to germinate — poblanos are relatively cooperative once soil temps are right.
Don't rush transplanting. Poblanos are warm-season plants that stall out in cold soil and can suffer permanent setbacks from a late frost.
Germination Setup
Soil temperature is the single most important factor for germination. Poblano seeds want 80 to 85°F consistently — not air temperature, but actual soil temperature.
A seedling heat mat is the most reliable way to hit that target. Place a thermometer probe directly in the growing medium to verify you're in range; room temperature almost never gets you there.
Use a sterile seed-starting mix, not garden soil or potting mix. Garden soil compacts and can harbor pathogens; standard potting mix is often too coarse for small seeds to make good contact.
Sow seeds about 1/4 inch deep. Plant 2-3 seeds per cell, then thin to the strongest seedling once they've put out their first true leaves.
Keep the medium consistently moist but not saturated. A clear humidity dome over the tray maintains moisture and warmth without constant watering — remove it once seedlings emerge to prevent damping off.
Once seeds sprout, move seedlings to bright light immediately. A south-facing window rarely provides enough intensity; a T5 fluorescent or LED grow light set 2-3 inches above the canopy for 14-16 hours daily produces compact, sturdy transplants.
Hardening Off and Transplanting
Transplants need 7 to 10 days of gradual outdoor exposure before going into the ground. Start with an hour of shade, then progressively increase direct sun and wind exposure each day.
Skipping this step causes transplant shock that can set plants back by weeks. Leaves that curl under or develop bleached patches are telling you the transition was too fast.
Transplant outdoors only when nighttime temperatures stay consistently above 55°F. Poblanos below that threshold stop growing and can drop flowers even after they've recovered from the cold.
Space plants 18 to 24 inches apart in rows 24-36 inches wide. Poblanos grow into substantial bushes — 2 to 3 feet tall and nearly as wide — and they need airflow to reduce disease pressure.
Plant transplants at the same depth they were growing in their containers. Unlike tomatoes, peppers don't benefit from deep planting and can develop stem rot if buried too deep.
Soil, Fertilizing, and Watering
Poblanos perform best in well-drained, loamy soil with a pH between 6.0 and 6.8. Heavy clay soils need amendment with compost or aged bark to improve drainage and aeration.
Work a balanced fertilizer (something like 10-10-10) into the planting bed before transplanting, then switch to a lower-nitrogen formula once plants start flowering. Too much nitrogen late in the season pushes leafy growth at the expense of fruit.
Calcium deficiency shows up as blossom end rot — dark, sunken patches at the base of developing pods. If your soil tests low in calcium, side-dress with gypsum or use a calcium-containing foliar spray during fruit set.
Watering consistency matters more than volume. Poblanos prefer 1 to 1.5 inches of water per week, delivered evenly. Irregular watering — drought followed by heavy irrigation — causes fruit cracking and blossom drop.
Drip irrigation or soaker hoses keep foliage dry and significantly reduce fungal disease pressure compared to overhead sprinklers. A 2-3 inch layer of mulch around plants retains soil moisture and moderates soil temperature swings.
Managing Heat, Shade, and Common Problems
Poblanos tolerate heat better than many sweet peppers, but extended periods above 90°F cause flower drop. If you're in a hot climate, afternoon shade cloth (30-40% density) can keep plants productive through summer peaks.
Aphids cluster on new growth and the undersides of leaves. A strong spray of water dislodges most colonies; insecticidal soap handles persistent infestations without harming beneficial insects.
Bacterial leaf spot appears as water-soaked lesions that turn brown with yellow halos. It spreads in wet conditions — another reason to water at the base rather than overhead. Remove infected leaves promptly and avoid working around plants when foliage is wet.
Phytophthora root rot is the most serious threat in poorly drained soils. Raised beds or heavily amended native soil are the best preventive measures. Once established, it's nearly impossible to reverse.
If you're growing other hot varieties nearby — anything from intensely hot ghost-type crosses to milder ornamentals like compact ornamental types with concentrated heat — keep them at least 50 feet from your poblanos if you're saving seed. Cross-pollination won't affect this season's fruit flavor, but it will compromise next year's seed.
Harvesting Green vs. Drying to Ancho
This is where poblano growing gets genuinely interesting. The same plant produces two distinct ingredients depending on when you harvest.
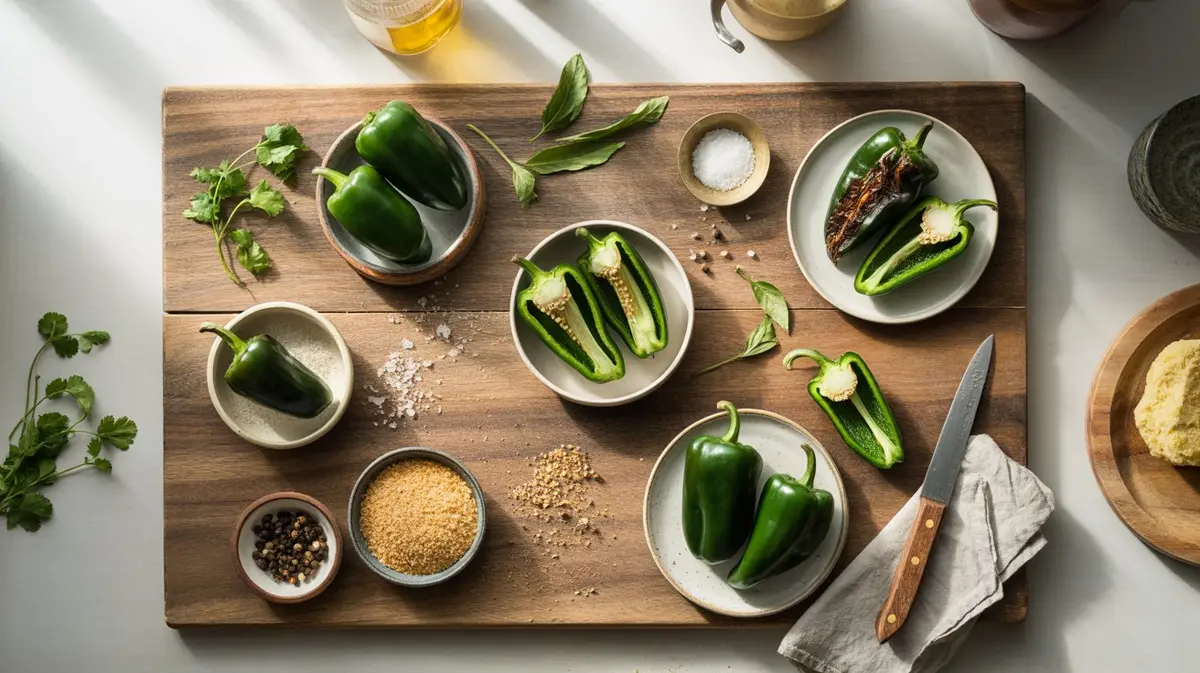
Green poblanos are harvested when pods reach full size — typically 4 to 6 inches long — while still dark green and firm. This usually happens around 65 days after transplanting. Green poblanos have that characteristic earthy, slightly grassy flavor that makes them ideal for chiles rellenos and roasting.
To dry into anchos, leave pods on the plant until they turn completely red — deep crimson to mahogany. This takes an additional 3 to 4 weeks beyond green maturity. The flavor transforms dramatically: earthiness deepens, a mild sweetness develops, and dried fruit notes emerge that make anchos a cornerstone of mole negro.
Use clean, sharp scissors or pruners to harvest. Pulling pods by hand risks snapping branches, especially on heavily loaded plants. Cut with a short section of stem attached to extend shelf life.
For air-drying into anchos, string red pods through their stems and hang in a warm, well-ventilated space out of direct sunlight. Full drying takes 3 to 4 weeks depending on humidity. Alternatively, a food dehydrator at 135°F finishes the job in 8 to 12 hours.
Fully dried anchos should be leathery and pliable, not brittle. If they crack when bent, they've dried too fast or too long — still usable, but the texture in rehydrated applications suffers.
Growing Poblanos in Containers
Container growing works well for poblanos, though the plants need more attention than in-ground specimens. Use a minimum 5-gallon container — 7 to 10 gallons produces noticeably better yields and requires less frequent watering.
Container plants dry out faster and need more frequent fertilization since nutrients leach with every watering. A slow-release granular fertilizer at planting, supplemented with liquid feeding every 2-3 weeks during the growing season, keeps plants productive.
The upside of containers: you can move plants to optimize sun exposure and bring them indoors before frost to extend the season. Poblanos are perennial in frost-free climates — a container plant brought inside can overwinter and produce again the following year with even larger yields as the root system matures.
Companion Planting and Garden Placement
Basil planted nearby appears to deter aphids and thrips, though the evidence is largely observational. Marigolds around the bed perimeter discourage nematodes in the soil and provide some pest confusion for flying insects.
Avoid planting poblanos near fennel, which inhibits growth in most vegetable crops, or near other solanaceous plants like tomatoes and eggplant if disease pressure from Phytophthora or bacterial wilt is a concern in your area — they share susceptibilities.
Taller plants like corn or sunflowers on the south side of the bed can provide afternoon shade in hot climates without blocking morning sun, which poblanos need for photosynthesis and fruit development.
Storage After Harvest
Fresh green poblanos keep for 1 to 2 weeks refrigerated in a paper bag. Plastic traps moisture and accelerates softening; paper allows enough airflow to slow deterioration.
Roasted and peeled poblanos freeze exceptionally well. Roast over an open flame or under a broiler until charred on all sides, steam in a sealed bag for 10 minutes, then peel, seed, and freeze flat in portions. Frozen roasted poblanos hold quality for 6 to 8 months and go directly from freezer to pan without thawing.
Dried anchos store in an airtight container away from light and heat for up to a year without significant flavor loss. Whole dried pods retain more flavor than pre-ground ancho powder, which loses its complexity within a few months of grinding.
If you're interested in how poblano heat compares to other mild-to-medium varieties — the 1,000 to 25,000 SHU range covers a lot of ground — the Scoville rating system gives a useful framework for understanding where poblanos fall relative to other kitchen staples.
Seed Saving for Next Season
Poblanos are open-pollinated and breed true from seed, making them excellent candidates for seed saving. Select pods from your most productive, healthiest plants — this is where multi-year selection starts to pay off.
Allow pods to fully ripen to red on the plant before harvesting for seed. Extract seeds, rinse off any pulp, and dry them on a paper plate or screen for 1 to 2 weeks at room temperature.
Store dried seeds in a cool, dry location in a labeled paper envelope inside an airtight container. Properly stored poblano seeds remain viable for 3 to 5 years, though germination rates decline after year 3.
Test older seed batches before committing to them for the season: place 10 seeds between damp paper towels at 80°F for two weeks and count germination. Below 70% germination means sowing more densely to compensate.
For gardeners who want to understand the broader Capsicum annuum species that poblanos belong to — and how it connects to hundreds of other cultivated varieties from sweet bells to cayennes — that botanical context explains a lot about growing behavior and cross-pollination risks.
Poblanos share their mild heat classification with varieties like the sweet, teardrop-shaped biquinho from Brazil, though the two are entirely different in use and growing habit. Understanding where your variety sits in the broader pepper world helps with garden planning, especially if you're growing multiple types simultaneously.
For anyone who wants to go deeper on pepper cultivation in general — soil prep, pest management, overwintering strategies — the complete germination and growing guide covers those topics across all Capsicum species.
Frequently Asked Questions
-
Expect 10 to 21 days for germination, plus 8 to 10 weeks of indoor seedling growth, then 65 to 80 days after transplanting to first green harvest. Total time from seed to table is typically 4 to 5 months depending on your climate.
-
They are the same plant harvested at different stages. Poblano refers to the fresh green pod, while ancho is the fully ripened red pod that has been dried. Drying concentrates the flavor and adds mild sweetness and dried fruit notes.
-
Yes, but use at least a 5-gallon container — 7 to 10 gallons produces better yields. Container plants need more frequent watering and fertilizing than in-ground plants, and benefit from being brought indoors before frost to extend the season.
-
Flower drop usually signals temperature stress — either nighttime temperatures below 55°F or daytime highs above 90°F. Inconsistent watering and excessive nitrogen fertilizer late in the season are also common causes.
-
Green poblanos are ready when pods reach 4 to 6 inches long, feel firm, and have developed a deep glossy green color — typically around 65 days after transplanting. For ancho production, wait until pods turn fully red, which takes an additional 3 to 4 weeks.