
Classic Chile Rellenos With Cheese-Stuffed Poblanos in Airy Capeado
Classic chile rellenos are whole roasted poblanos filled with cheese, coated in airy capeado, and fried at 350°F. Dry peppers, fresh batter, and oil recovery keep the coating attached.
Ingredients, equipment, and yield
This recipe makes 6 chile rellenos. Choose broad, firm poblanos with intact stems.
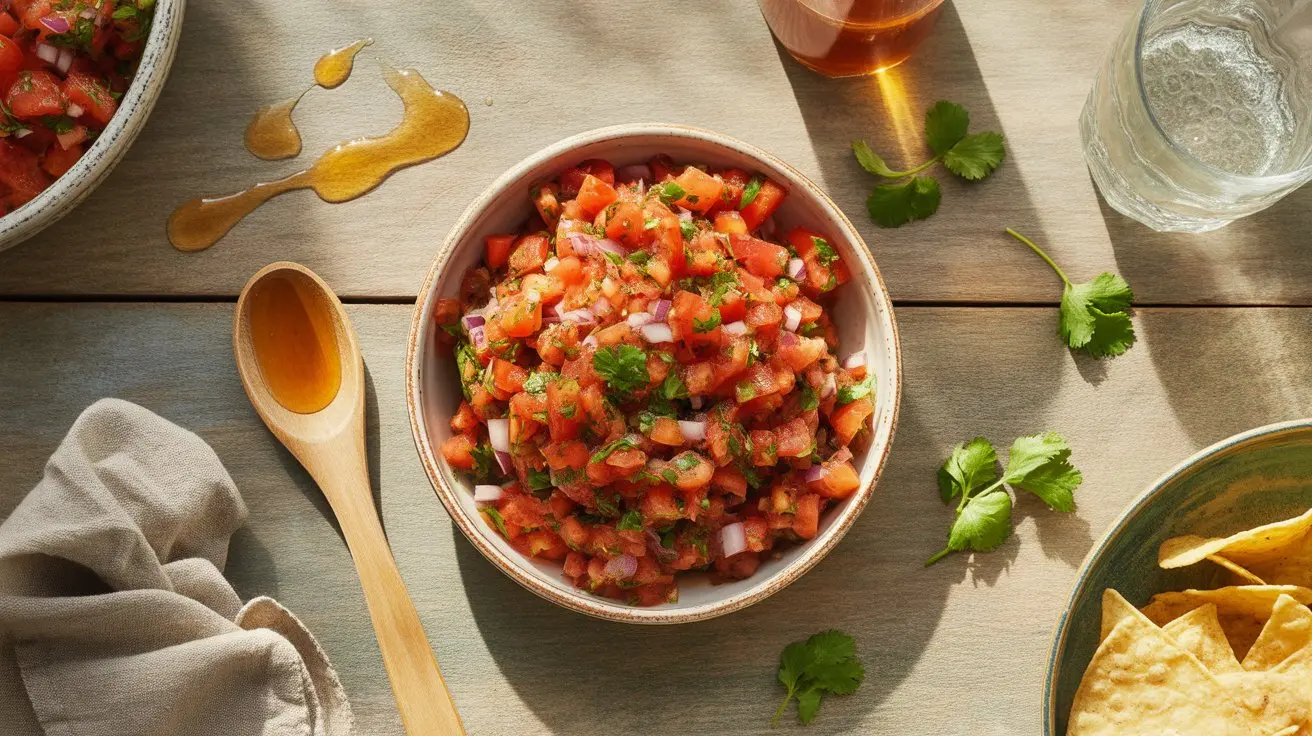
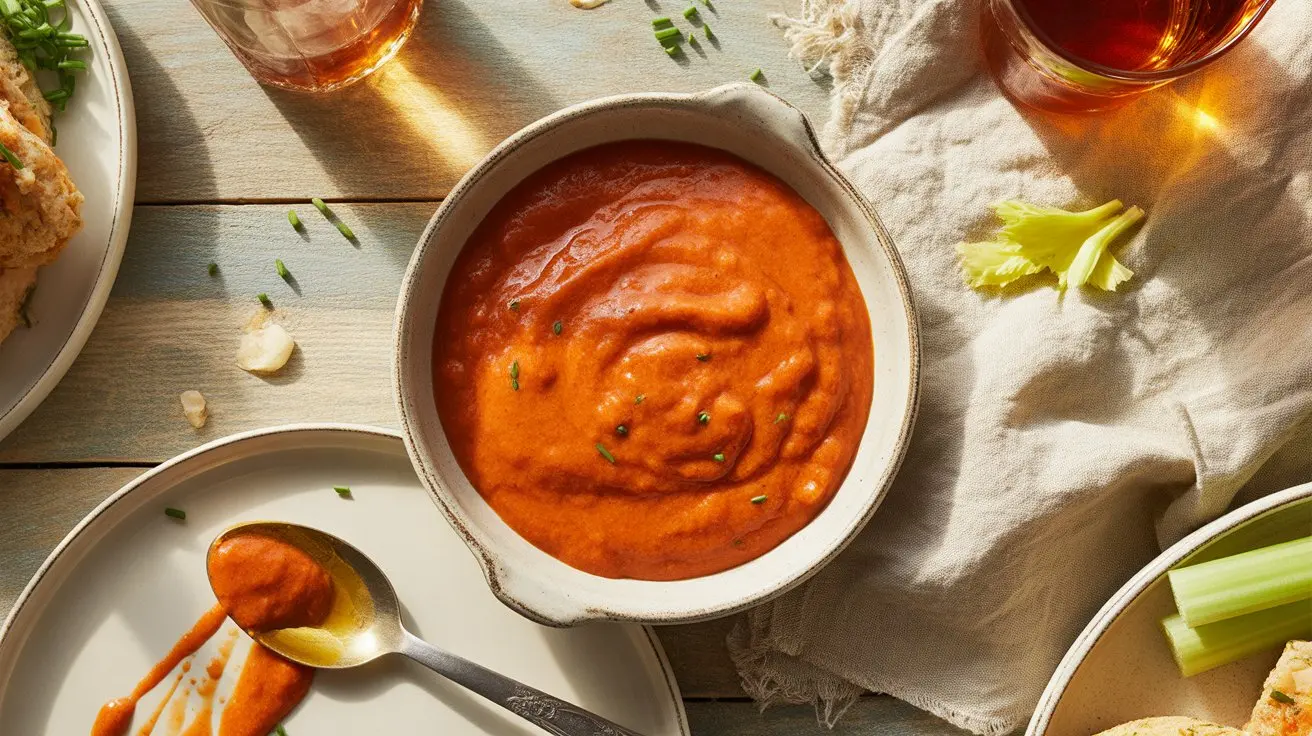
A smooth cooked tomato salsa is the classic choice because it complements the fried coating without adding another heavy texture.
Sort the peppers before roasting. Similar length and shoulder width make the six portions cook more evenly and help each 2-ounce cheese log fit without forcing the slit open.
Set up the rack, thermometer, batter bowl, and serving plate before the oil heats. Once the capeado is folded, delays cost volume and make later batches heavier.
- 6 large poblano peppers
- 12 oz Oaxaca cheese or low-moisture Monterey Jack, cut into 6 logs
- 5 large eggs, separated
- 1/2 cup all-purpose flour, divided
- 3/4 tsp fine salt, divided
- 1/4 tsp black pepper
- Neutral high-heat oil, enough for a 1 1/2-inch depth
- 2 cups warm tomato salsa, for serving
- Cooked rice and beans, optional for serving
Use a broiler and rimmed sheet pan, a covered bowl, paper towels, a small knife, an electric hand mixer, two shallow dishes, a heavy Dutch oven, an instant-read thermometer, tongs, and a wire rack set over a sheet pan. The deep-sided Dutch oven contains splatter better than a shallow skillet.
Prepare the poblanos
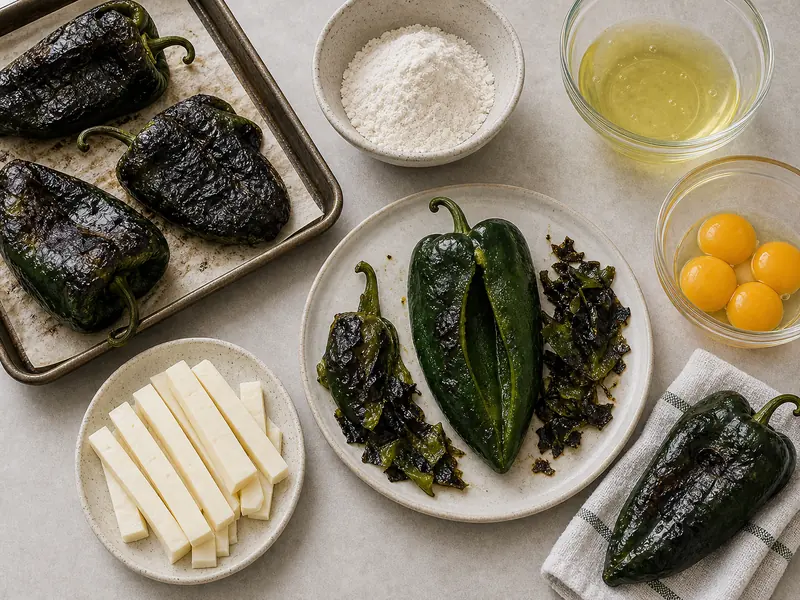
Set a broiler rack about 5 inches from the heat. Broil the poblanos on a rimmed pan, turning every 2 to 3 minutes, until the skin is blackened and blistered all over, 8 to 12 minutes.
Transfer them to a covered bowl for 15 minutes. Steam loosens the skin.
Leaving them much longer softens the flesh and makes tearing more likely.
Rub off the loose skin with dry fingers or a paper towel. Do not rinse the peppers, since water makes the flour and batter slide.
Cut one lengthwise slit from just below the stem to about 1 inch above the tip. Reach through that opening to remove the seed cluster and loose seeds while keeping the stem and opposite wall intact.
Blot the cavity and exterior completely dry.
The pepper is ready when the loose skin is gone but the flesh can still support its own weight. If a wall tears, overlap the edges around the cheese and place that side upward for the first part of frying rather than widening the opening.
Keep the stem attached as a handle only when it remains firm. A loose stem can detach over hot oil, so support the body with a spoon or tongs whenever the chile feels fragile.
Fill and close
Put one 2-ounce cheese log inside each pepper. The cheese should fill the cavity without forcing the slit open.
Press the edges together and secure a stubborn opening with one wooden toothpick, counting the toothpicks so all are removed before serving.
Mix 1/4 cup flour with the black pepper in a shallow dish. Coat each filled chile lightly, including the seam, then shake off loose flour.
Oaxaca cheese pulls into strands and fits the mild filling, while low-moisture Monterey Jack gives a similar melting job with easier portioning. Avoid fresh high-moisture cheese because released liquid works against the dry flour layer.
If meat or vegetables are added, cook and cool them before stuffing. The short frying step sets the coating and heats the center.
It is not enough time to cook a raw filling from the beginning.
A thin dry coat gives the egg foam a surface to grip. A thick coat leaves dusty patches.
Use cheese logs that are cool and dry. Shredded cheese and wet fillings are harder to contain, and a hot filling begins softening the pepper before the batter has set.
Close every chile before beating the whites. This keeps the short life of the finished foam available for coating and frying instead of filling work.
Make the capeado
Beat the egg whites with 1/2 teaspoon salt in a clean, dry bowl until they hold stiff, glossy peaks. Beat the yolks with the remaining 1/4 teaspoon salt in a separate bowl.
Fold the yolks into the whites in three additions with broad strokes, stopping as soon as no yellow streaks remain. Fold in the remaining 1/4 cup flour just until combined.
Make the batter immediately before frying. Letting it stand deflates the foam, while vigorous stirring removes the air that gives capeado its light shell.
Coat and fry no more than two chiles at a time so the remaining batter stays buoyant.
Stiff peaks should stand when the beaters lift, while the surface remains glossy rather than dry or clumpy. Stop folding as soon as the yolk and flour disappear.
Extra strokes squeeze out the air needed for an even shell.
If the last batch looks thinner, whisking the finished batter will not restore the original foam. Fry the best-coated chiles first and keep the waiting peppers floured and dry.
Fry safely
Pour oil to a 1 1/2-inch depth in a heavy Dutch oven, leaving ample headroom. Heat it to 350°F (175°C).
Keep the pot handle turned inward, keep water away from the stove, and never leave hot oil unattended.
Hold a floured chile by its stem, support the body, and roll it gently in the batter. Lower it away from you into the oil, seam-side up.
Fry one or two at a time for about 2 minutes per side, turning once, until the coating is evenly deep golden and the center reaches 160°F (71°C). USDA FSIS recommends 160°F for dishes containing eggs.
Move each relleno to the wire rack. Let the oil return to 350°F before the next batch.
Measure oil temperature between batches and after adding a chile. A sharp drop slows setting and increases oil absorption, while excessive heat browns the exterior before the cheese and egg coating are hot through.
Use the rack instead of stacking rellenos on paper towels. Air can move under the coating, so steam does less damage while the remaining batches cook.
If the coating slips, lift the chile out before the loose batter burns, drain it briefly, blot any exposed wet spot, add a light flour dusting, and recoat it after the oil recovers. If the coating darkens before the center heats, lower the burner and wait for the oil to settle near 350°F.
Remove loose wisps of batter between batches before they burn and darken the oil. Use a heat-safe skimmer, then wait for the temperature reading to stabilize before coating the next chile.
Do not top up the pot with cold oil during a batch unless there is enough time to bring the full volume back to 350°F. A changing oil depth or temperature makes the final rellenos cook differently from the first ones.
Serve, make ahead, and store
Serve the rellenos as soon as the final batch drains. Spoon warm tomato salsa onto the plate and set the relleno over it, or add a small amount on top just before eating.
Flooding the crisp coating early makes it soften. Rice and beans turn one relleno into a main-course serving.
Choose whether the salsa belongs under or over the pepper according to serving speed. Sauce underneath preserves more of the top crust, while a small spoonful over the center gives immediate tomato flavor but softens that spot first.
Remove every toothpick before plating and count them against the number inserted. A stem may remain for presentation, but it should not be treated as edible.
The poblanos can be roasted, peeled, filled, covered, and refrigerated up to 24 hours ahead. Dry them again before flouring.
Make the capeado only when the oil is nearly ready. Refrigerate cooked leftovers within 2 hours in a shallow covered container and use them within 3 to 4 days, following USDA FSIS guidance.
Reheat on a wire rack in a 375°F oven until the center is hot. The coating will be softer than when freshly fried.
Keep the salsa separate during storage and reheating. Moisture applied in advance softens the coating before the center has warmed.
For service, warm the plates and salsa while the final batch fries. That timing lets every relleno reach the table soon after draining instead of holding the first batch in a covered dish where steam collects.
Poblano variability and fresh substitutes
Poblanos are generally mild, but one fruit can be noticeably hotter than another. Removing the white ribs reduces some of that variation without weakening the pepper wall.
Taste a tiny cooked trimming if heat matters to a guest, and handle the interior with gloves if your skin is sensitive.
A large fresh Anaheim chile is the closest practical substitute, though its narrower body and thinner wall hold less cheese and need gentler handling. Use a fresh pepper, never dried pasilla or ancho.
Ancho is a dried ripe poblano, and pasilla is a different dried chile. Neither can serve as the whole flexible shell this method requires.
For an oven-baked filling in poblano halves, use the stuffed poblano.
For pepper identity and buying detail, see the poblano profile.
This battered method does not convert cleanly to baking because the loose egg foam needs hot oil to set around the whole pepper. When frying is not the intended method, use the linked baked stuffed-poblano preparation instead of placing this batter on a sheet pan.
Ingredients
-
6 large poblano peppers
-
12 oz Oaxaca cheese or low-moisture Monterey Jackcut into 6 logs
-
5 large eggsseparated
-
1/2 cup all-purpose flourdivided
-
3/4 tsp fine saltdivided
-
1/4 tsp black pepper
-
Neutral high-heat oilenough for a 1 1/2-inch depth
-
2 cups warm tomato salsafor serving
-
Cooked rice and beansoptional for serving
Full Recipe Instructions
Broil the poblanos…
Broil the poblanos about 5 inches from the heat, turning every 2 to 3 minutes, until blackened and blistered all over, 8 to 12 minutes.
Cover the peppers…
Cover the peppers in a bowl for 15 minutes. Rub off the skin without rinsing. Cut one lengthwise slit in each, remove seeds through the opening, and blot dry.
Place one 2-ounce…
Place one 2-ounce cheese log in each pepper. Press the slit closed and secure with a toothpick if needed.
Mix 1/4 cup…
Mix 1/4 cup flour with the black pepper. Coat each filled chile lightly and shake off excess.
Beat egg whites…
Beat egg whites with 1/2 teaspoon salt to stiff glossy peaks. Beat yolks with the remaining salt, fold them into the whites in three additions, then fold in the remaining 1/4 cup flour.
Heat 1 1/2…
Heat 1 1/2 inches of neutral oil in a heavy Dutch oven to 350°F (175°C).
Coat one or…
Coat one or two floured chiles in batter. Lower them away from you into the oil, seam-side up.
Fry about 2…
Fry about 2 minutes per side until deep golden and the center reaches 160°F (71°C). Transfer to a wire rack and return the oil to 350°F before each batch.
Remove every toothpick.…
Remove every toothpick. Serve immediately with warm tomato salsa and optional rice and beans.
Classic Chile Rellenos With Cheese-Stuffed Poblanos in Airy Capeado FAQ
- Mexico in My Kitchen - Chiles Rellenos Recipe
- USDA FSIS - Shell Eggs from Farm to Table
- USDA FSIS - Leftovers and Food Safety