How to Grow Thai Peppers
Thai peppers are compact, prolific, and perfect for pots. Seed starting, container growing, harvesting, and drying.
Why Thai Peppers Are Worth Growing
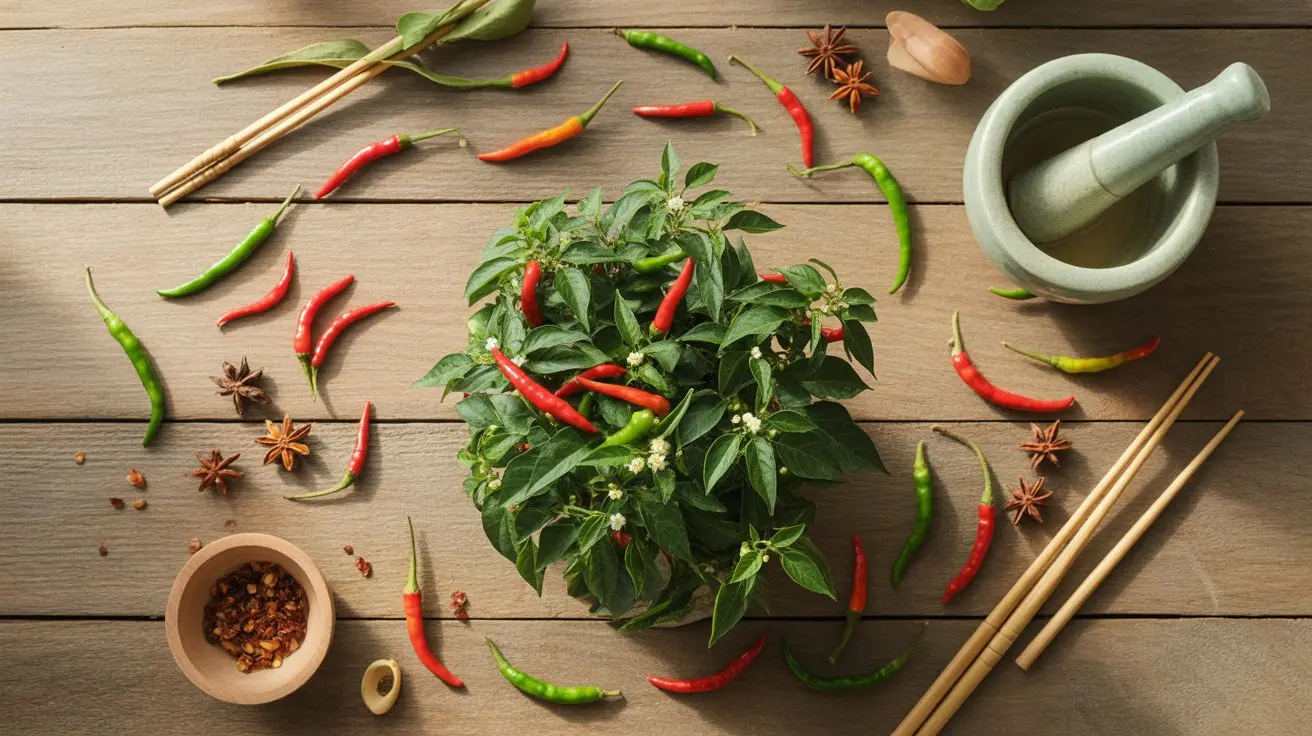
Thai peppers punch well above their size. These compact Capsicum annuum plants produce hundreds of slender, upright fruits per season — more than almost any other variety in the same footprint.
Heat runs between 50,000 and 100,000 SHU, placing them firmly in the fiercely hot intensity range — roughly 10 to 20 times hotter than a Fresno chili. That combination of yield and fire makes them a favorite for anyone who cooks Southeast Asian food regularly.
They also adapt well to containers, which means a small patio or balcony can produce enough Thai peppers to last through winter if you dry them properly. The plants stay under 24 inches tall in most conditions, and the ornamental look — clusters of peppers pointing skyward against dark green foliage — is genuinely attractive.
Choosing Your Seeds and Starting Timing
Start seeds 8 to 10 weeks before your last frost date. Thai peppers have a longer germination window than sweet peppers, and the extra lead time pays off at transplant.
Seed selection matters more than people expect. Look for varieties labeled Thai Hot, Bird's Eye, or Prik Kee Nu — the last translates roughly to "mouse dropping pepper" and refers to the classic tiny, pointed fruit shape. Baker Creek and Johnny's Selected Seeds both carry reliable Thai pepper stock.
For a broader understanding of the full seed germination walkthrough from soil prep to transplant, that resource covers technique applicable to most hot pepper varieties.
Sow seeds 1/4 inch deep in a quality seed-starting mix. Avoid garden soil — it compacts and drains poorly in small cells, which stresses seedlings before they have a chance to establish.
Germination: Heat Is Non-Negotiable
Thai pepper seeds need 80-85°F soil temperature to germinate reliably. At room temperature (68-72°F), germination drops significantly and can stretch to 3 weeks or more.
A seedling heat mat is the single most effective investment for starting Thai peppers. Set it under a humidity dome and expect sprouts in 7 to 14 days with consistent bottom heat.
Once cotyledons emerge, remove the humidity dome and move seedlings under lights immediately. Thai pepper seedlings stretch fast in low light — a common mistake is leaving them covered too long, which produces leggy plants that never fully recover their structure.
Keep lights 2 to 3 inches above the tops of seedlings. T5 fluorescents or LED grow lights both work well. Aim for 14 to 16 hours of light per day during the seedling stage.
Soil, Containers, and Setup
Thai peppers thrive in well-draining, slightly acidic soil — target a pH of 6.0 to 6.8. In ground beds, amend heavy clay with compost and perlite. In containers, a quality potting mix with added perlite (roughly 20% by volume) gives roots the drainage they need.
Container size matters: go with at least a 5-gallon pot per plant. Thai peppers develop an extensive root system despite their compact above-ground size. Smaller pots restrict root growth and reduce yield noticeably.
Fabric grow bags are worth considering — they air-prune roots naturally, which encourages lateral branching and a denser root structure. Many growers report heavier yields from fabric containers versus standard plastic pots of the same volume.
Place containers where they receive 6 to 8 hours of direct sun daily. South-facing spots work best in the Northern Hemisphere. Thai peppers are sun-hungry; partial shade slows fruit set and dilutes heat.
Transplanting and Early Care
Harden off seedlings over 7 to 10 days before moving them outside permanently. Start with an hour of morning sun, increase daily exposure, and avoid putting young plants in full afternoon sun before they have adjusted.
Transplant after soil temperatures reach 60°F consistently and nighttime lows stay above 55°F. Cold soil at transplant sets plants back more than most growers realize — roots stall, leaves yellow, and early fruit set suffers.
Space plants 18 inches apart in ground beds. In containers, one plant per 5-gallon pot is the right ratio. Crowding Thai peppers reduces airflow and increases fungal disease pressure, especially in humid climates.
At transplant, pinch off any flower buds that have already formed. This redirects energy into root establishment and ultimately produces a more productive plant. It feels counterintuitive, but the yield difference over a full season is real.
Watering, Fertilizing, and Ongoing Maintenance
Thai peppers prefer consistent moisture without waterlogging. A good target: water when the top inch of soil feels dry. In containers during summer heat, that can mean daily watering — check rather than assuming.
Inconsistent watering causes blossom drop, one of the most common complaints from first-time Thai pepper growers. Irregular wet-dry cycles stress the plant at the exact moment flowers need stable conditions to set fruit.
Fertilize with a balanced 10-10-10 or similar NPK formula through the vegetative stage. Once flowering begins, shift to a lower-nitrogen fertilizer — something like a 5-10-10 — to push fruit production rather than leaf growth.
Calcium and magnesium deficiencies show up frequently in container-grown peppers. A monthly application of diluted Cal-Mag solution prevents the blossom end rot and leaf curl that signal deficiency. This matters more in pots than in ground beds because nutrients leach out with frequent watering.
Thai peppers rarely need staking due to their compact structure, but plants heavy with fruit clusters can tip in containers. A single bamboo stake and loose tie solves the problem without restricting airflow.
Pest and Disease Management
Aphids are the most common pest on Thai peppers, clustering on new growth and the undersides of leaves. A strong spray of water knocks most colonies back; neem oil handles persistent infestations without harming beneficial insects significantly.
Spider mites appear in hot, dry conditions — especially on container plants near walls that reflect heat. Increasing humidity around plants and ensuring consistent watering reduces mite pressure. Insecticidal soap works well as a contact treatment.
Bacterial leaf spot and anthracnose are the diseases most likely to affect Thai peppers in humid climates. Both spread through overhead watering and poor airflow. Water at the base of plants, space them adequately, and remove affected leaves promptly.
Phytophthora root rot is less common but devastating when it occurs — plants collapse seemingly overnight. It is entirely preventable with well-draining soil and containers with adequate drainage holes. There is no effective treatment once established.
Harvesting Thai Peppers
Thai peppers reach maturity in 70 to 85 days from transplant. Fruits start green and ripen through yellow or orange to red, depending on variety. Red peppers are fully ripe and carry the most heat; green Thai peppers are still hot but slightly less intense.
Harvest by cutting stems with scissors rather than pulling. Pulling can damage branches and dislodge nearby developing fruits. Leave a short stem attached — it extends shelf life by a few days if you are storing fresh.
Regular harvesting signals the plant to produce more fruit. Plants left with fully ripe peppers on the vine slow new fruit production. During peak season, harvest every 3 to 5 days.
A single healthy Thai pepper plant can yield 100 to 200 peppers over a season. In a warm climate with a long growing season, yields push higher. Container plants typically produce less than ground-planted specimens, but the difference narrows with attentive fertilizing and watering.
Drying and Storing Your Harvest
Thai peppers are among the easiest hot peppers to dry. Their thin walls lose moisture quickly, which reduces drying time and the risk of mold.
Air drying works well in dry climates: thread peppers on string through their stems and hang in a warm, well-ventilated spot out of direct sunlight. Expect 2 to 4 weeks for complete drying. In humid climates, a food dehydrator set at 125-135°F is more reliable and takes 8 to 12 hours.
Oven drying at the lowest setting (usually 170°F) works but risks cooking the peppers rather than drying them, which affects flavor and color. If using an oven, prop the door open slightly to allow moisture to escape.
Dried Thai peppers store for 12 to 18 months in an airtight container away from light and heat. Grind them into flakes or powder for the most versatile pantry ingredient — Thai chili flakes are a staple in larb, pad see ew, and dozens of dipping sauces.
Cooking With Thai Peppers
Larb gai — the minced chicken salad from northern Thailand — is the dish that shows Thai peppers at their best. The raw heat of freshly sliced peppers cuts through the richness of the meat and the brightness of lime juice in a way that dried flakes cannot replicate.
Fresh Thai peppers work in any application where you want immediate, clean heat without the fruity complexity of Caribbean varieties like the Scotch bonnet's intensely fruity Caribbean heat. Thai peppers are sharper, more linear in their burn.
In stir-fries, add whole dried Thai peppers to hot oil at the start of cooking — they bloom in the fat and distribute heat throughout the dish. Remove before serving if guests are heat-sensitive.
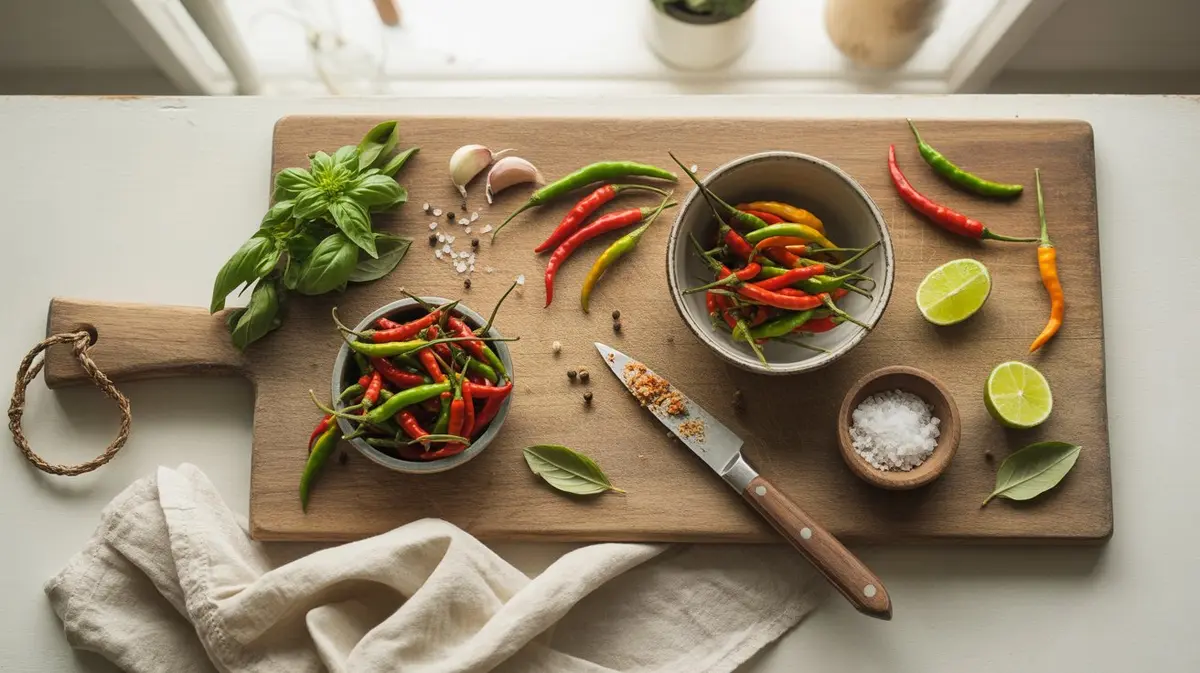
For a milder result, remove seeds before using fresh. The capsaicin is concentrated in the placenta (the white membrane), so removing seeds and membrane reduces heat by roughly 30-40% while keeping the pepper's flavor intact.
If you want to experiment with different heat profiles in the kitchen, the Criolla Sella's bright, medium-heat fruitiness offers an interesting contrast to Thai peppers in the same recipe — one for depth, one for fire.
Companion Planting and Garden Placement
Basil is the most practical companion for Thai peppers — it repels aphids, tolerates the same sun and water requirements, and gets used in the same recipes. Plant basil 12 inches from pepper stems.
Avoid planting Thai peppers near fennel, which suppresses growth in many vegetables including peppers. Brassicas (cabbage, broccoli) compete for nutrients and should be kept separate.
Marigolds planted around the perimeter of a pepper bed deter nematodes and some flying pests. French marigolds (Tagetes patula) are more effective than African marigolds for nematode suppression specifically.
Thai peppers grow well alongside other hot varieties. If you grow Hinkelhatz's distinctive teardrop-shaped heat or the Inca Red Drop's fruity South American fire, they share similar sun, water, and soil requirements — grouping them simplifies care considerably.
Overwintering Thai Pepper Plants
Thai peppers are perennial in USDA zones 10 and above. In cooler climates, container plants can be overwintered indoors and returned outside the following spring — often producing even heavier yields in their second year.
Before bringing plants inside, inspect thoroughly for pests. Spider mites and aphids hide well and will spread to indoor plants. A thorough neem oil spray applied outside, allowed to dry, and then a second inspection before moving indoors prevents most problems.
Cut plants back by about one-third before overwintering. This reduces the plant's demand for light and water during dormancy. Place near the brightest available window or under grow lights to maintain basic health through winter.
Water sparingly during dormancy — roughly once every two weeks, just enough to keep soil from completely drying out. Resume normal watering and fertilizing in late winter as the plant begins pushing new growth in response to lengthening days.
Frequently Asked Questions
-
Thai peppers reach harvestable size in 70 to 85 days from transplant. Starting seeds 8 to 10 weeks before your last frost date gives plants enough lead time to begin producing shortly after the growing season opens.
-
Thai peppers are excellent container plants due to their compact size. Use at least a 5-gallon pot per plant, ensure good drainage, and fertilize regularly since nutrients leach out faster in containers than in ground beds.
-
Blossom drop is almost always caused by temperature stress or inconsistent watering. Nighttime temperatures below 55F or above 85F trigger drop, as does letting soil dry out completely between waterings during the flowering stage.
-
Significantly hotter. Thai peppers range from 50,000 to 100,000 SHU, while jalapeños typically measure 2,500 to 8,000 SHU. That puts Thai peppers roughly 10 to 20 times hotter depending on the specific specimens compared.
-
A food dehydrator set to 125-135F is the most reliable method, taking 8 to 12 hours. In dry climates, air drying on a string works well over 2 to 4 weeks. Avoid oven drying above 170F to preserve flavor and color.